OK, fans (all both of you). You asked, and I provide. Photos, that is, just to show what I managed to do this weekend. Yep, I did all this in just 2 days, including going to the store at least twice to get supplies and equipment. Ready? Here we go….
If you recall, I started with these three pieces of furniture that I wanted to refinish for my studio:
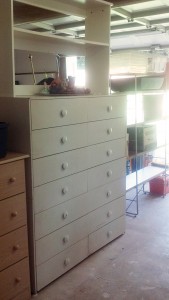

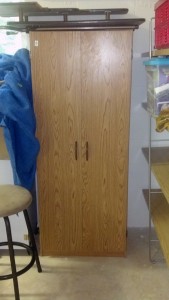
Well, these were the three pieces I decided to start with. I didn’t manage to do anything with the cabinet, but I did manage to do some work on the other two pieces. Here’s what happened to the small dresser:
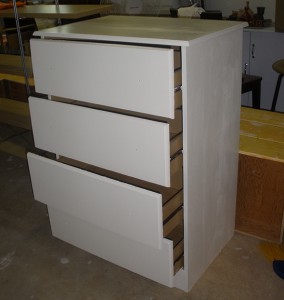
This small dresser now has 2 coats of primer and paint in an ivory color. I also bought some adorable little knobs for the drawer pulls to replace the little wooden ones that came with it, but they will wait until the painting is complete. Yes, there’s more to do to it, but that will have to wait until at least next weekend.
Also, here is what has happened to the huge honkin’ dresser so far:
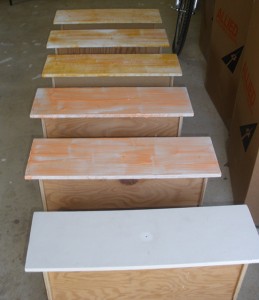
First, I started by putting some CitriStrip paint stripper on the drawer faces. Above you can see the progress of the stripping solution. Remember, the drawers started white, like the bottom drawer. The stripping goop is an orange color, which is what you see in the next drawer. Above that, the paint begins to bubble and blister away from the surface. As the goop works it’s magic, the colors below the top coat begin to peek through, changing the color. The blistering and bubbling continue, until several layers of paint are ready to strip off the drawers, with just a plastic scraper.
This was not quick, although I was happier because it did not turn my garage or yard into a toxic waste site. Still, the effect was not perfect, as you see below:
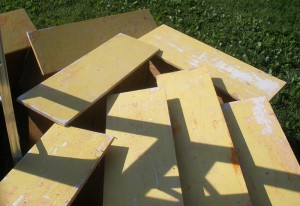
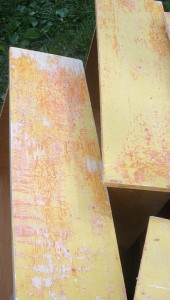
So, after much sanding and cleaning, then painting, this:
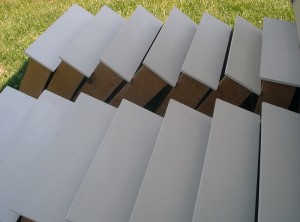
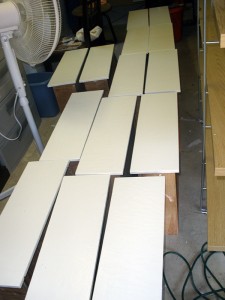
Those really are ivory, not yellow. The ones near the top of the picture are simply in more shadow. The ones near the bottom are closer to the actual color. Again, I have some new drawer pulls to put in to replace the old painted wooden pulls.
And here’s the actual case for the drawers:
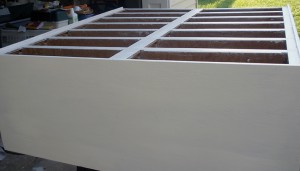
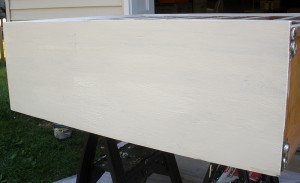
I followed pretty much the same routine for the case as I did the drawers: stripper, followed by mineral spirits to neutralize the stripping goop, then sanding (lots and lots of sanding), then a tack cloth to wipe up the dust, then 1 coat of primer and paint. The next coat will have to wait a little while.
Now, I realize that these don’t seem like the best, smoothest paint job. However, let me remind you that I’m not stopping at ivory. This is just the base color for the final result. Which means that my studio will be entirely unusable for the next few weeks. Since I have a full-time day job (which pays well, thankyouverymuch), I won’t have the opportunity to work on this project until the weekends. (insert sad face here)
Which is probably just as well, since I am sore literally from my head to the bottoms of my feet. My back, arms and legs ache, my neck is stiff and sore, and I’m wondering if there is enough ibuprofen to help me get through work tomorrow. But once this project is done, and I can finally unpack my crafting stash and fill the dressers and cabinet up with beautiful fabrics and such, I will be able to sit back and smile at the coolest furniture around!
Well, time to go try to get some rest. Morning comes way too early for me these days….