I’m sure most of you have seen bags made from jeans (or bags made to look like they are made from jeans). Well, today’s project takes that idea a little further…
A couple of years ago, I found some used men’s suits at a Goodwill shop. They were not expensive (duh!), and I’d seen instructions for using suit jackets and trousers to make bags, so I bought them, intending to make some chic bags. What is that saying about good intentions?
Anyway, today I became inspired to make a cool tote bag from one of the trousers I had bought back then. Happily, these trousers were on the large size, so there was plenty of room to make a nice-sized tote bag. I wanted something large enough to put my purse, lunch, a jacket and umbrella in so I only have to carry one bag in to work. I also wanted something with exterior pockets. Finally, I wanted a funky lining and a long shoulder strap, since I prefer cross-body bag styles.
So, I dug out one of the pairs of trousers, and searched through my fabric stash to find something fun to offset the conservative trouser fabric. I’ll include instructions below. Unfortunately, I didn’t take any in-process photos, so you’ll just have to ask if you need clarification on anything.
What you will need:
- A large pair of suit trousers
- Scissors or rotary cutter
- Cutting mat
- Straight edge for cutting trousers and lining fabric
- Thread
- Needle/Sewing Machine
- Pemtex or other extra stiff craft interfacing, enough to line the bottom of the bag.
- Lining fabric
- Strap material (belt, scarf, leather strap, fabric to make a strap…)
- Optional:
- rings and/or hooks to attach strap to bag
- surface design elements (beads, ribbon, markers, fabric paint, embroidery floss, appliques …)
Instructions:
- Start with a pair of suit trousers. The ones I used happen to be a size 40 long. Make sure nobody is wearing them at the time. 😉
- Turn the trousers inside out, checking the placement of the pockets (I didn’t want to cut any of the pockets short). Lay them flat on your cutting surface.
- Cut off the legs below the pockets and zipper. It’s ok if the crotch is still connected from front to back.
- If the crotch is still connected front to back, spread the sides of the hips apart, then cut through the crotch.
- Matching the side seams, flatten out the trouser top so the front seam is at one side, and the back side is at the other side. Trim off the seams so the front and back seams are more or less straight. You may have to leave part of it somewhat curved to avoid cutting through the zipper or cutting off too much on the back.
- Sew up the front and back seams to make a tube of the top of the trousers.
- Pull the zipper all the way up, and flatten the front. Pin the zipper placket down, then top-stitch it in place.
- Flatten out the front again, and measure the width of the bottom of the bag. Decide how deep you want the bag (front to back). I chose a depth of about 6 inches.
- Here’s how I figured out how large to make the bottom of my bag: I wanted the bag 6 inches deep. My trouser top was 23 inches wide across the bottom edge. 23 inches minus 6 inches is 17 inches, which is how long the bottom would be. I needed about 1/2 inch seam allowance on each side, so my bottom piece needed to measure 7 inches by 18 inches.
- Using one of the leftover legs, flatten it out as much as possible. Figure out where the straight of the grain is, then measure and cut 2 panels of your desired rectangle.
- Cut out a rectangle the same size as the bottom panel from the Pemtex interfacing.
- Layer the bottom panel like this: fabric (face down), Pemtex, fabric (face up). Pin. Stitch 1/8 inch from edge. Trim the Pemtex right down to the stitching. Be careful not to cut through the stitching or fabric.
- Pin the bottom panel to the right side of the prepared trouser top along the bottom edge of the trouser top (where the legs were cut off). Stitch in place with a 1/2 inch seam allowance (from the edge, not from the stitching).
- Turn the bag right side out. Top stitch around the bottom of the bag. This will provide a little stability for the bag bottom. The outside of the bag is done. If you don’t want a lined bag, you can stop here, and skip to the directions to make a shoulder strap.
- Make the lining:
- Measure the outside of the bag, top to bottom and side to side, and add half the depth of the bag to the length of the bag (in my case, the bag is 6 inches deep, so I added 3 inches).
- Cut two pieces of lining fabric to this measurement. Lay them right sides together. Pin.
- Sew down one length, across the bottom and up the other length, leaving the top open.
- Fold over about 1/2 inch to the wrong side of the lining fabric.
- Pin the lining to the inside of the bag, wrong sides together. Make sure the top edges of the bag and the lining fabric are lined up all the way around the bag. Top stitch the lining in place.
- The body of the bag is done.
- There are lots of shoulder strap options to explore. I found a long, narrow scarf, and tied each end to a belt loop on the trouser top. You can also thread a metal O-ring through a fabric loop on each side, stitch securely to the waistband and attach a strap using hooks. Or attach a strap on the front and another on the back, looped up and over in an upside-down U shape. For a less permanent solution, you can get some strong clips and clip your chosen shoulder strap to the bag. Try converting a belt or scarf or other length of fabric or fiber (think braided or woven yarn, fabric strips, cord, hair or other fiber of your choice).
Well, all that said and here is how my bag turned out (so far – I’m not convinced I’m done with it):
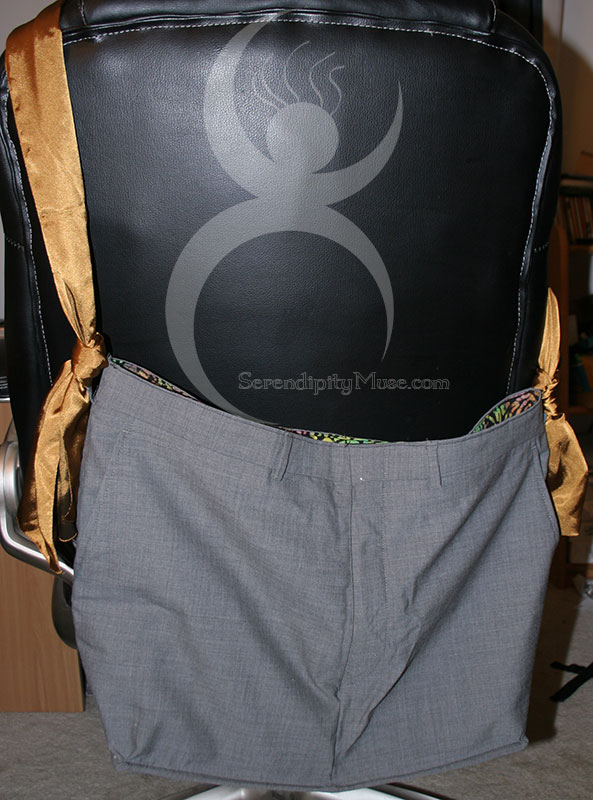
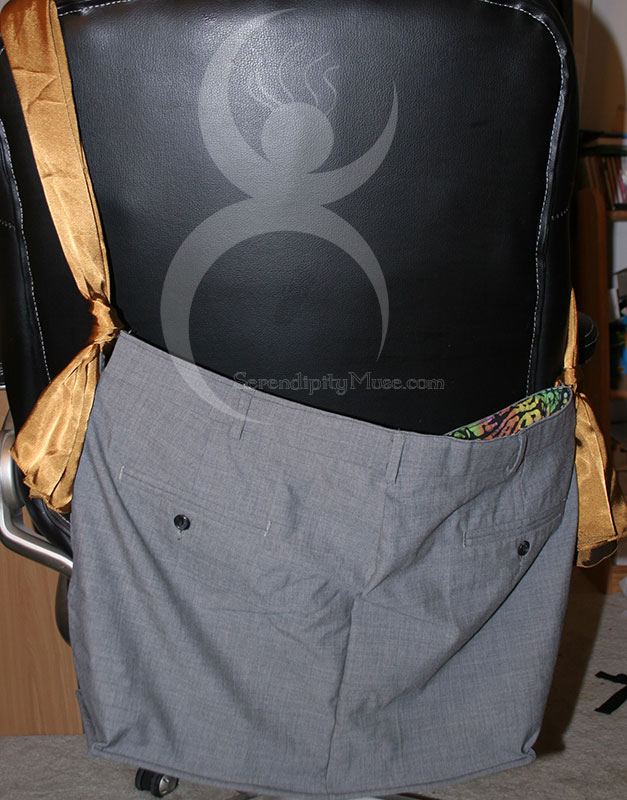
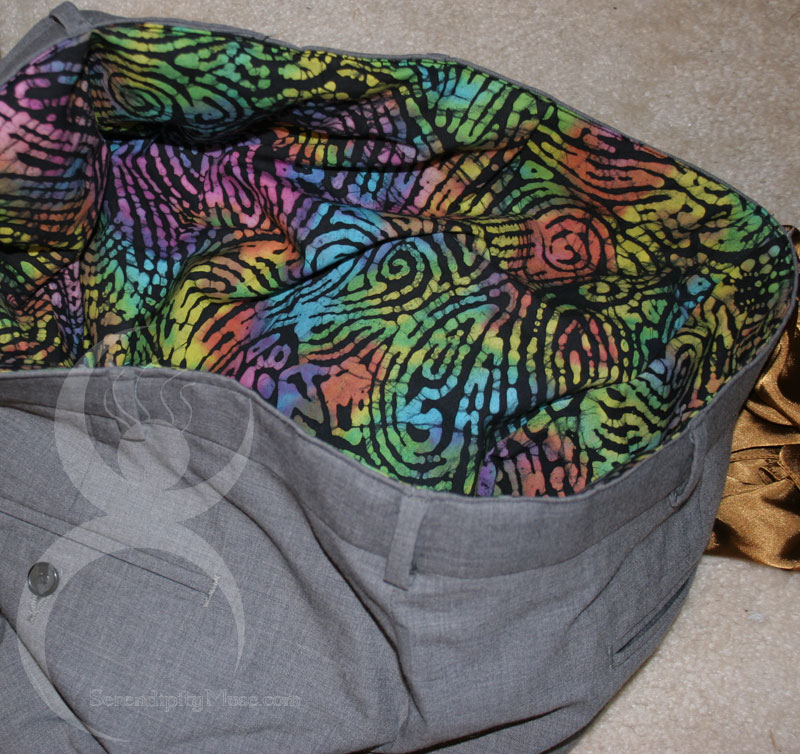
I love the batik fabric that I chose for the lining! This was one of the easiest bags I’ve made yet.
If I had wanted to take more time, I could have done more to give it some structure. For instance, I could have quilted the lining, then dropped it into the bag and finished it.
Also, I’m not in love with the strap. I’m still considering attaching a pair of front-and-back straps. What I might do is to take the existing strap and run it through the belt loops, then tie it in front. I also discovered that I can use the “belt” to close the top of the bag, so that is another option. But for now, this works, and is very close to my vision of what I wanted.