I’m finally able to post more on the Button Bouquet Tutorial (read Part I and Part III). So, let’s get going…
In Part 1, we made a bunch of stems for our bouquet. Here’s how mine turned out:

I made about 50 stems in all, but only ended up using about half that. I’ll explain why in a bit…
You’ll notice that mine uses a variety of materials. I have plastic buttons, metal buttons and gears, handmade Sculpey buttons, and shell buttons. The main thing I wanted for this project was the specific colors. Well, and the “gear”-like metal bits to add a Steampunk flavor to the whole thing.
I picked through the collection, and pulled out the best and most interesting stems for the bouquet. Next, I made a huge pile of stems with tulle “flowers” that would separate the button stems, and add a little glamour and frilliness to the bouquet. Here’s how I made them.
For part 2, you will need the following:
100 yards 6-inch-wide tulle “ribbon” (look in the bridal section of your local craft or fabric shop)
some cloth-covered floral stem wire (I found mine pre-cut in about 18-inch lengths, sold in a package of 20)
scissors
First, I found some tulle “ribbon” about 6 inches wide in ivory. This comes on spools of 25 yards and 100 yards. I ended up having to go back out and get the 100-yard spool, since the 25-yard spool didn’t go as far as I had hoped it would, so I recommend getting the larger spool if you can find it. You will also need a pair of sharp scissors to cut it without snagging.
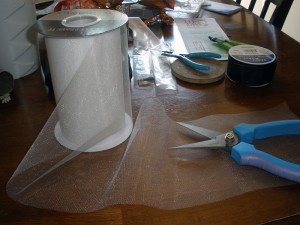
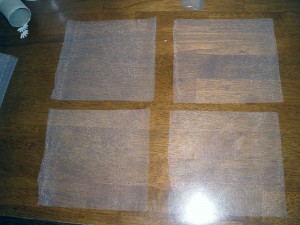
Step 1: cut the tulle into 4 squares, 6″ x 6″, like so:
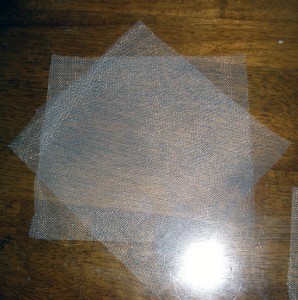
Step 2: lay the squares one on top of the others, turning the squares so the corners are at an angle to the other corners of the lower squares, like this:
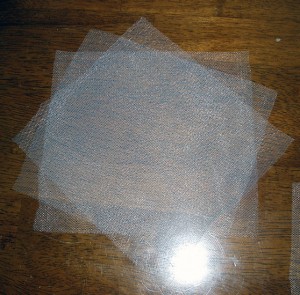
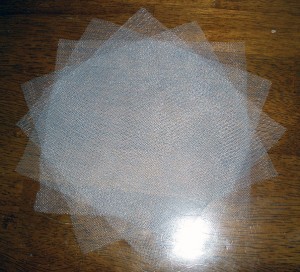
Step 3: Once you have the squares laid out as above, pinch the stack in the center, and gather the tips into a long “bundle”, like this:
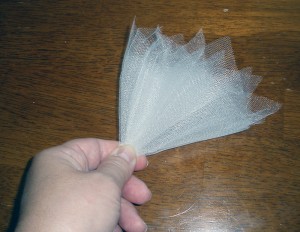
Step 4: Take a piece of your cloth-covered stem wire (I used a piece about 10 or 12 inches long here, you can use longer pieces for a larger bouquet), bend over about 2 inches in a sharp “V”. Place the pinched end of your tulle bundle snugly into the “V” of wire, then bend the wire tightly around the tulle, like so:
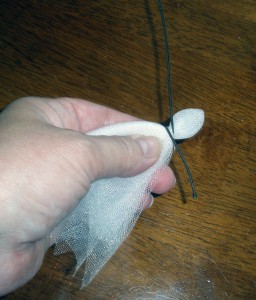
Continue to twist the short end of wire tightly around the pinched tip of tulle:
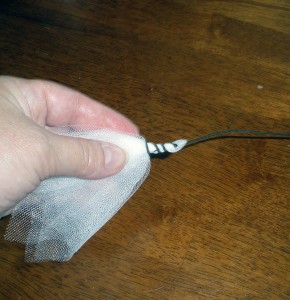
Step 5: Once the short end of wire is completely wound around the tulle, fluff out the open end of tulle:
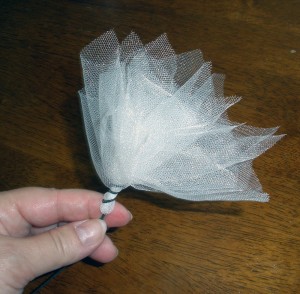
This is your tulle “flower”. You will need at least as many of these as you have button stems, perhaps 2-4 times as many, depending on how fluffy you want the final bouquet. Feel free to experiment. In the next part, we’ll put it all together into the bouquet.
For my bouquet, I only used about 25 button stems because I wanted to make the tulle stems into a major part of the final bouquet. Also, the more stems you add, the heavier the final bouquet will be. Just something to consider…