As I promised yesterday, here’s a quick little tutorial on how to make a cool digital background for posters, notecards, paintings, or whatever you’d like. I’m going to assume you have a working knowledge (and access to) your favorite image manipulation software. If you need something free, you can download GIMP. However this is not a “how to use your software” tutorial, so you’ll need some practice with it before you start using this tut.
For purposes of this tutorial, I’ll be using what I have, which happens to be PaintShopPro Photo X2 at the moment. You can use whatever you happen to have, as long as it can handle layers, and can rotate those layers independently. It also helps if you have a way to blend those layers. Here we go…
What you will need:
- A computer
- image manipulation/editing software (ex: PhotoShop, PaintShopPro, GIMP…)
- a camera (a decent cell phone will do)
- a way to transfer photos from your camera to your computer
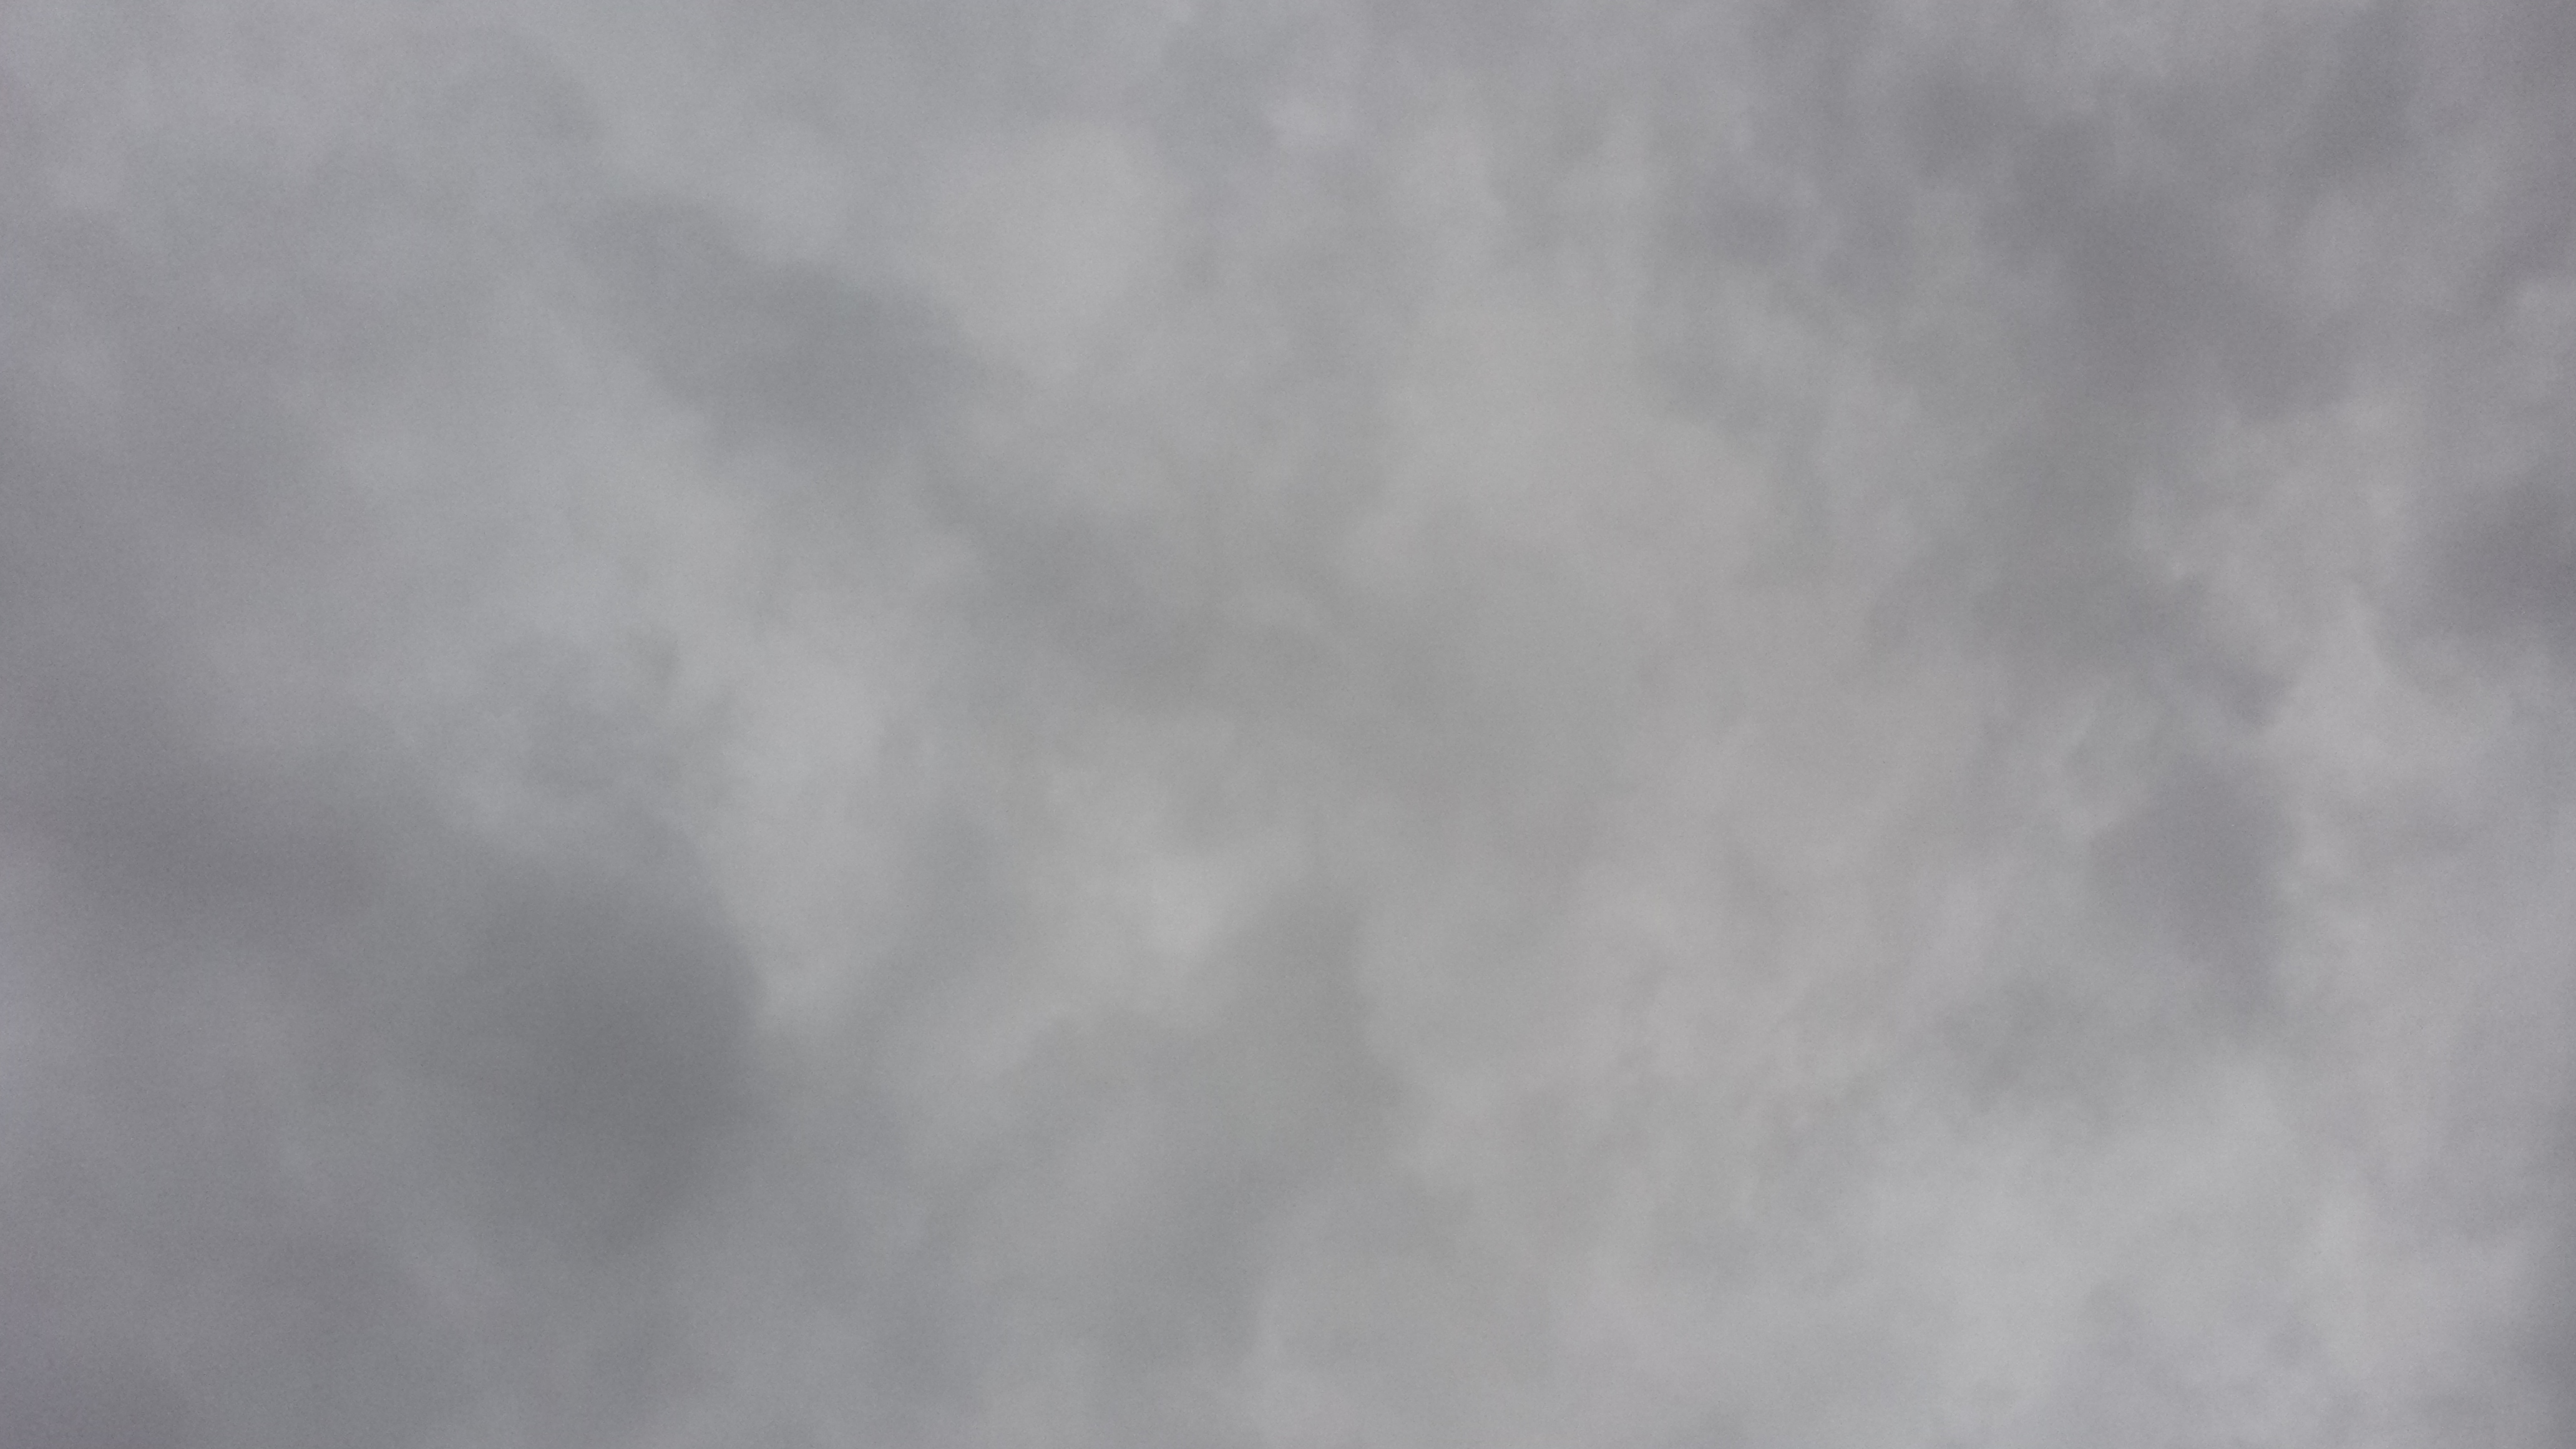
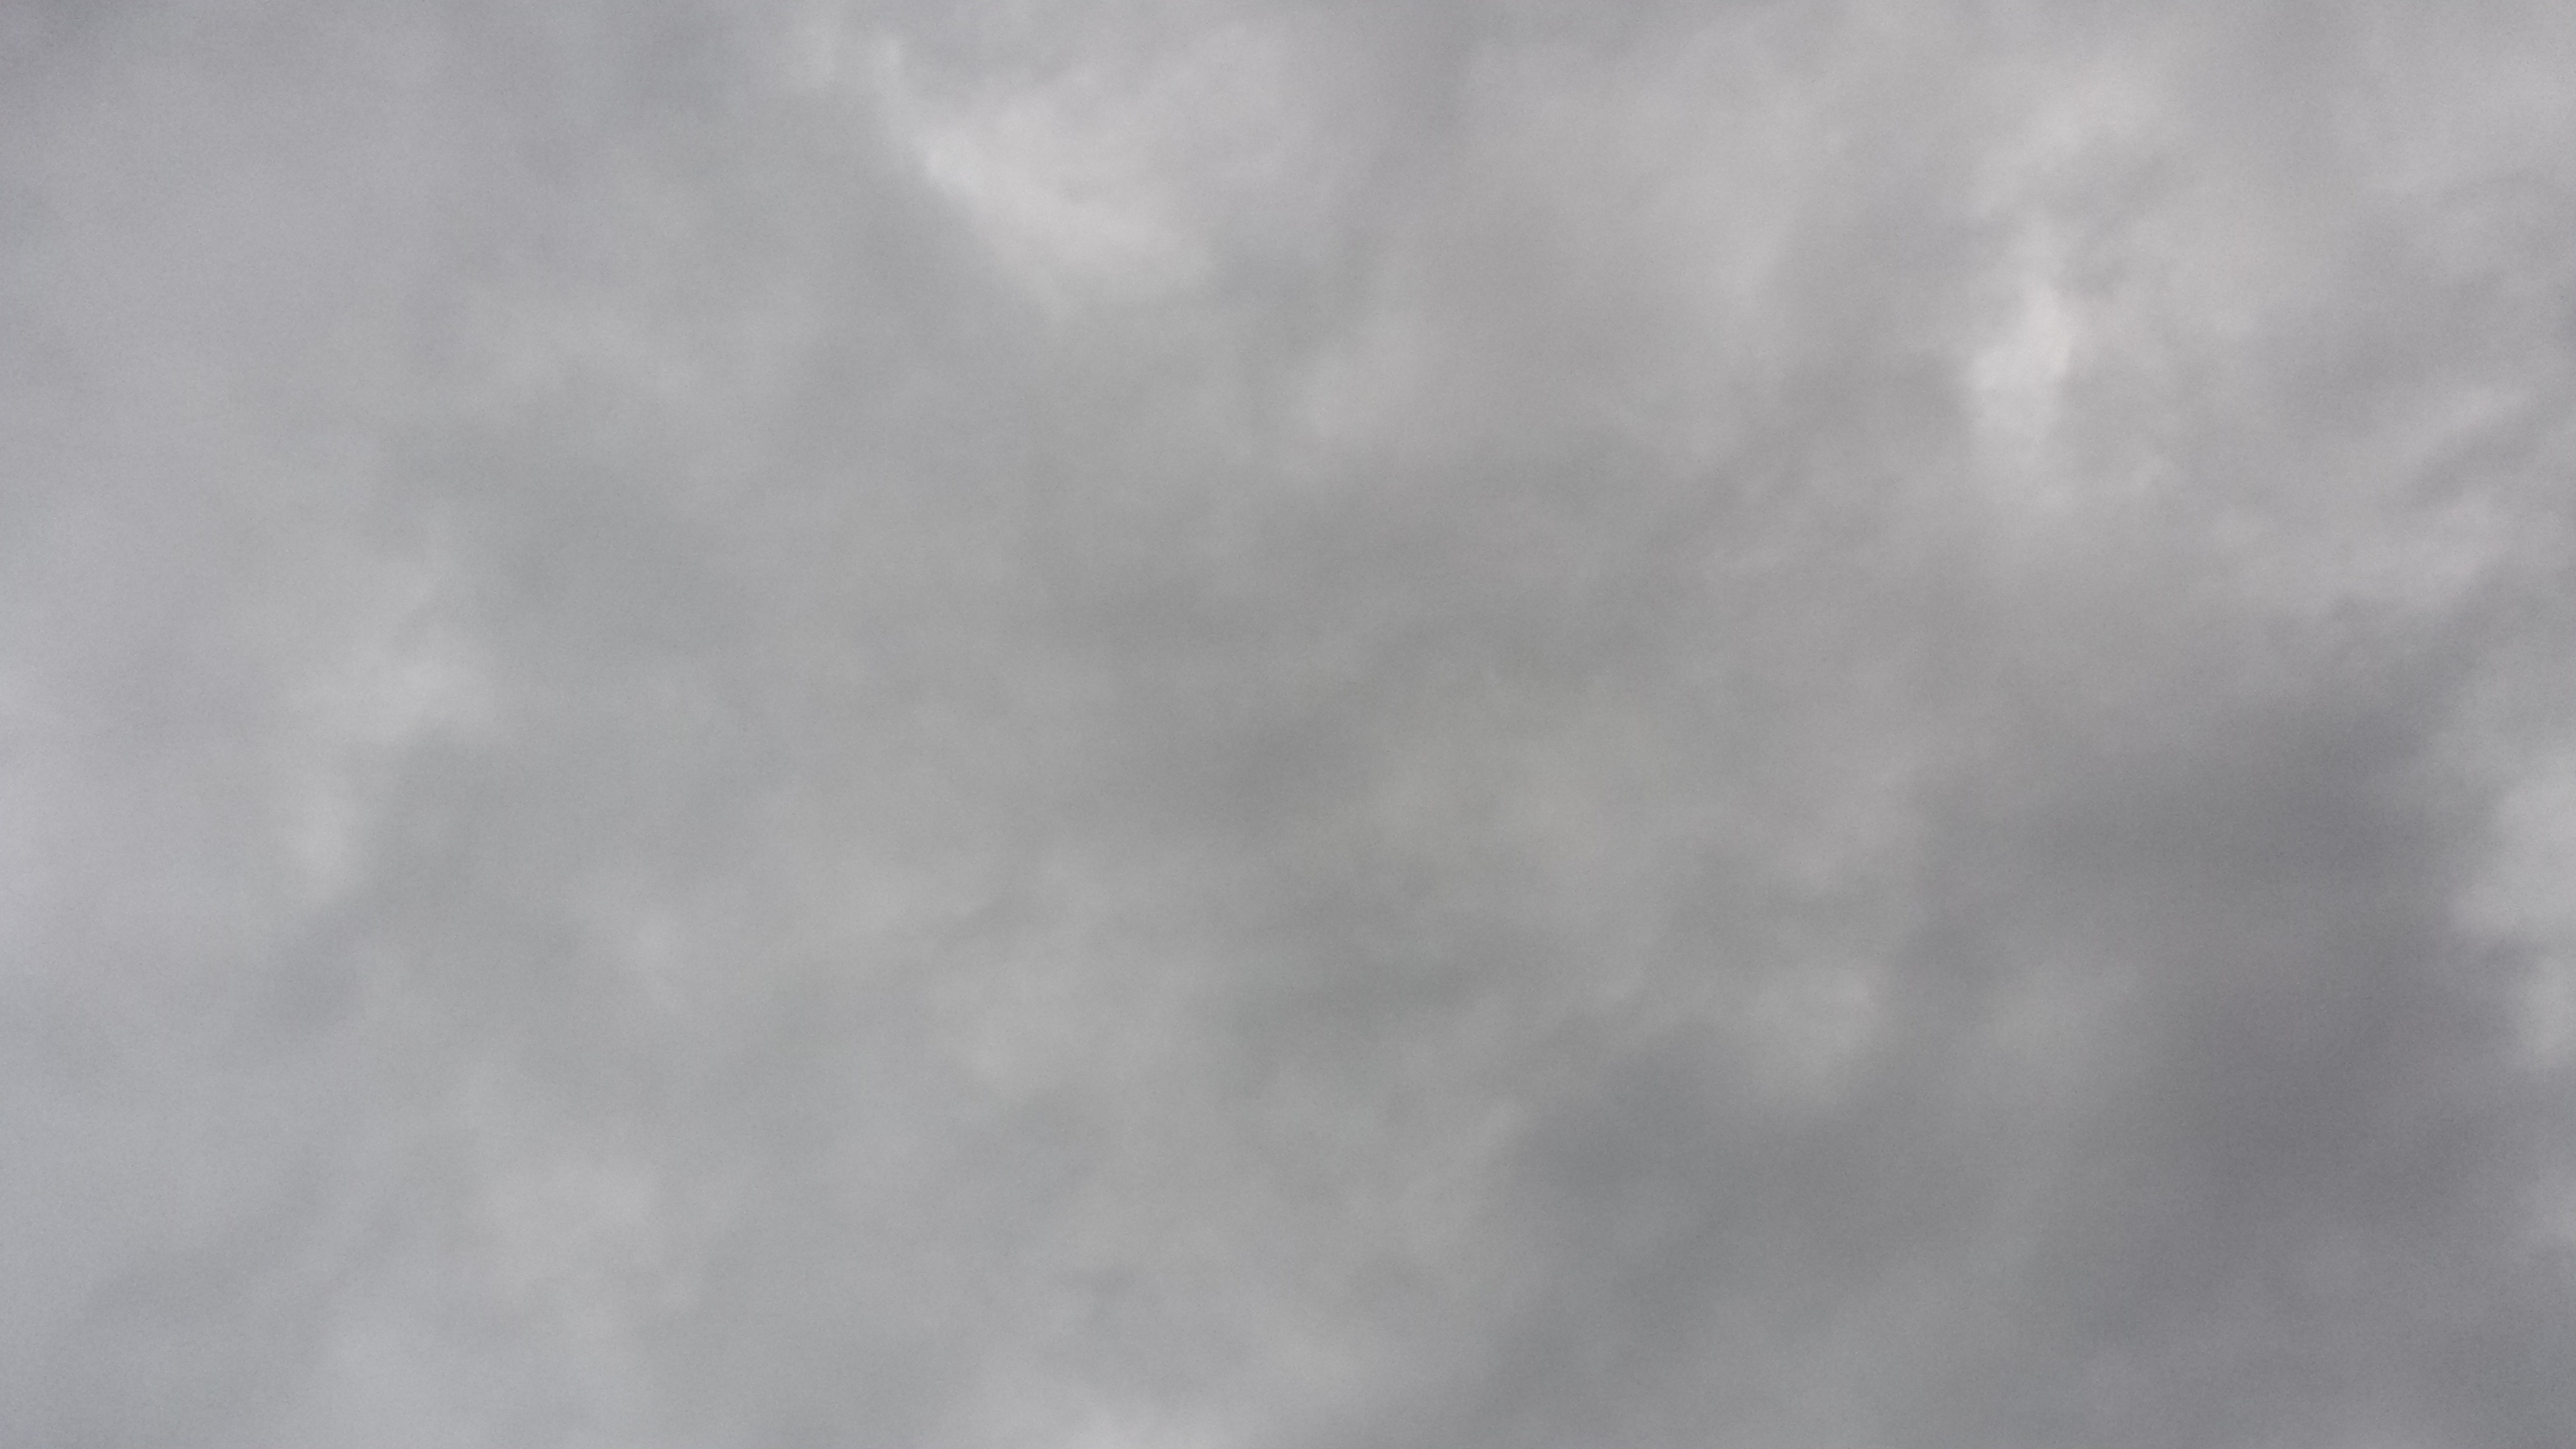
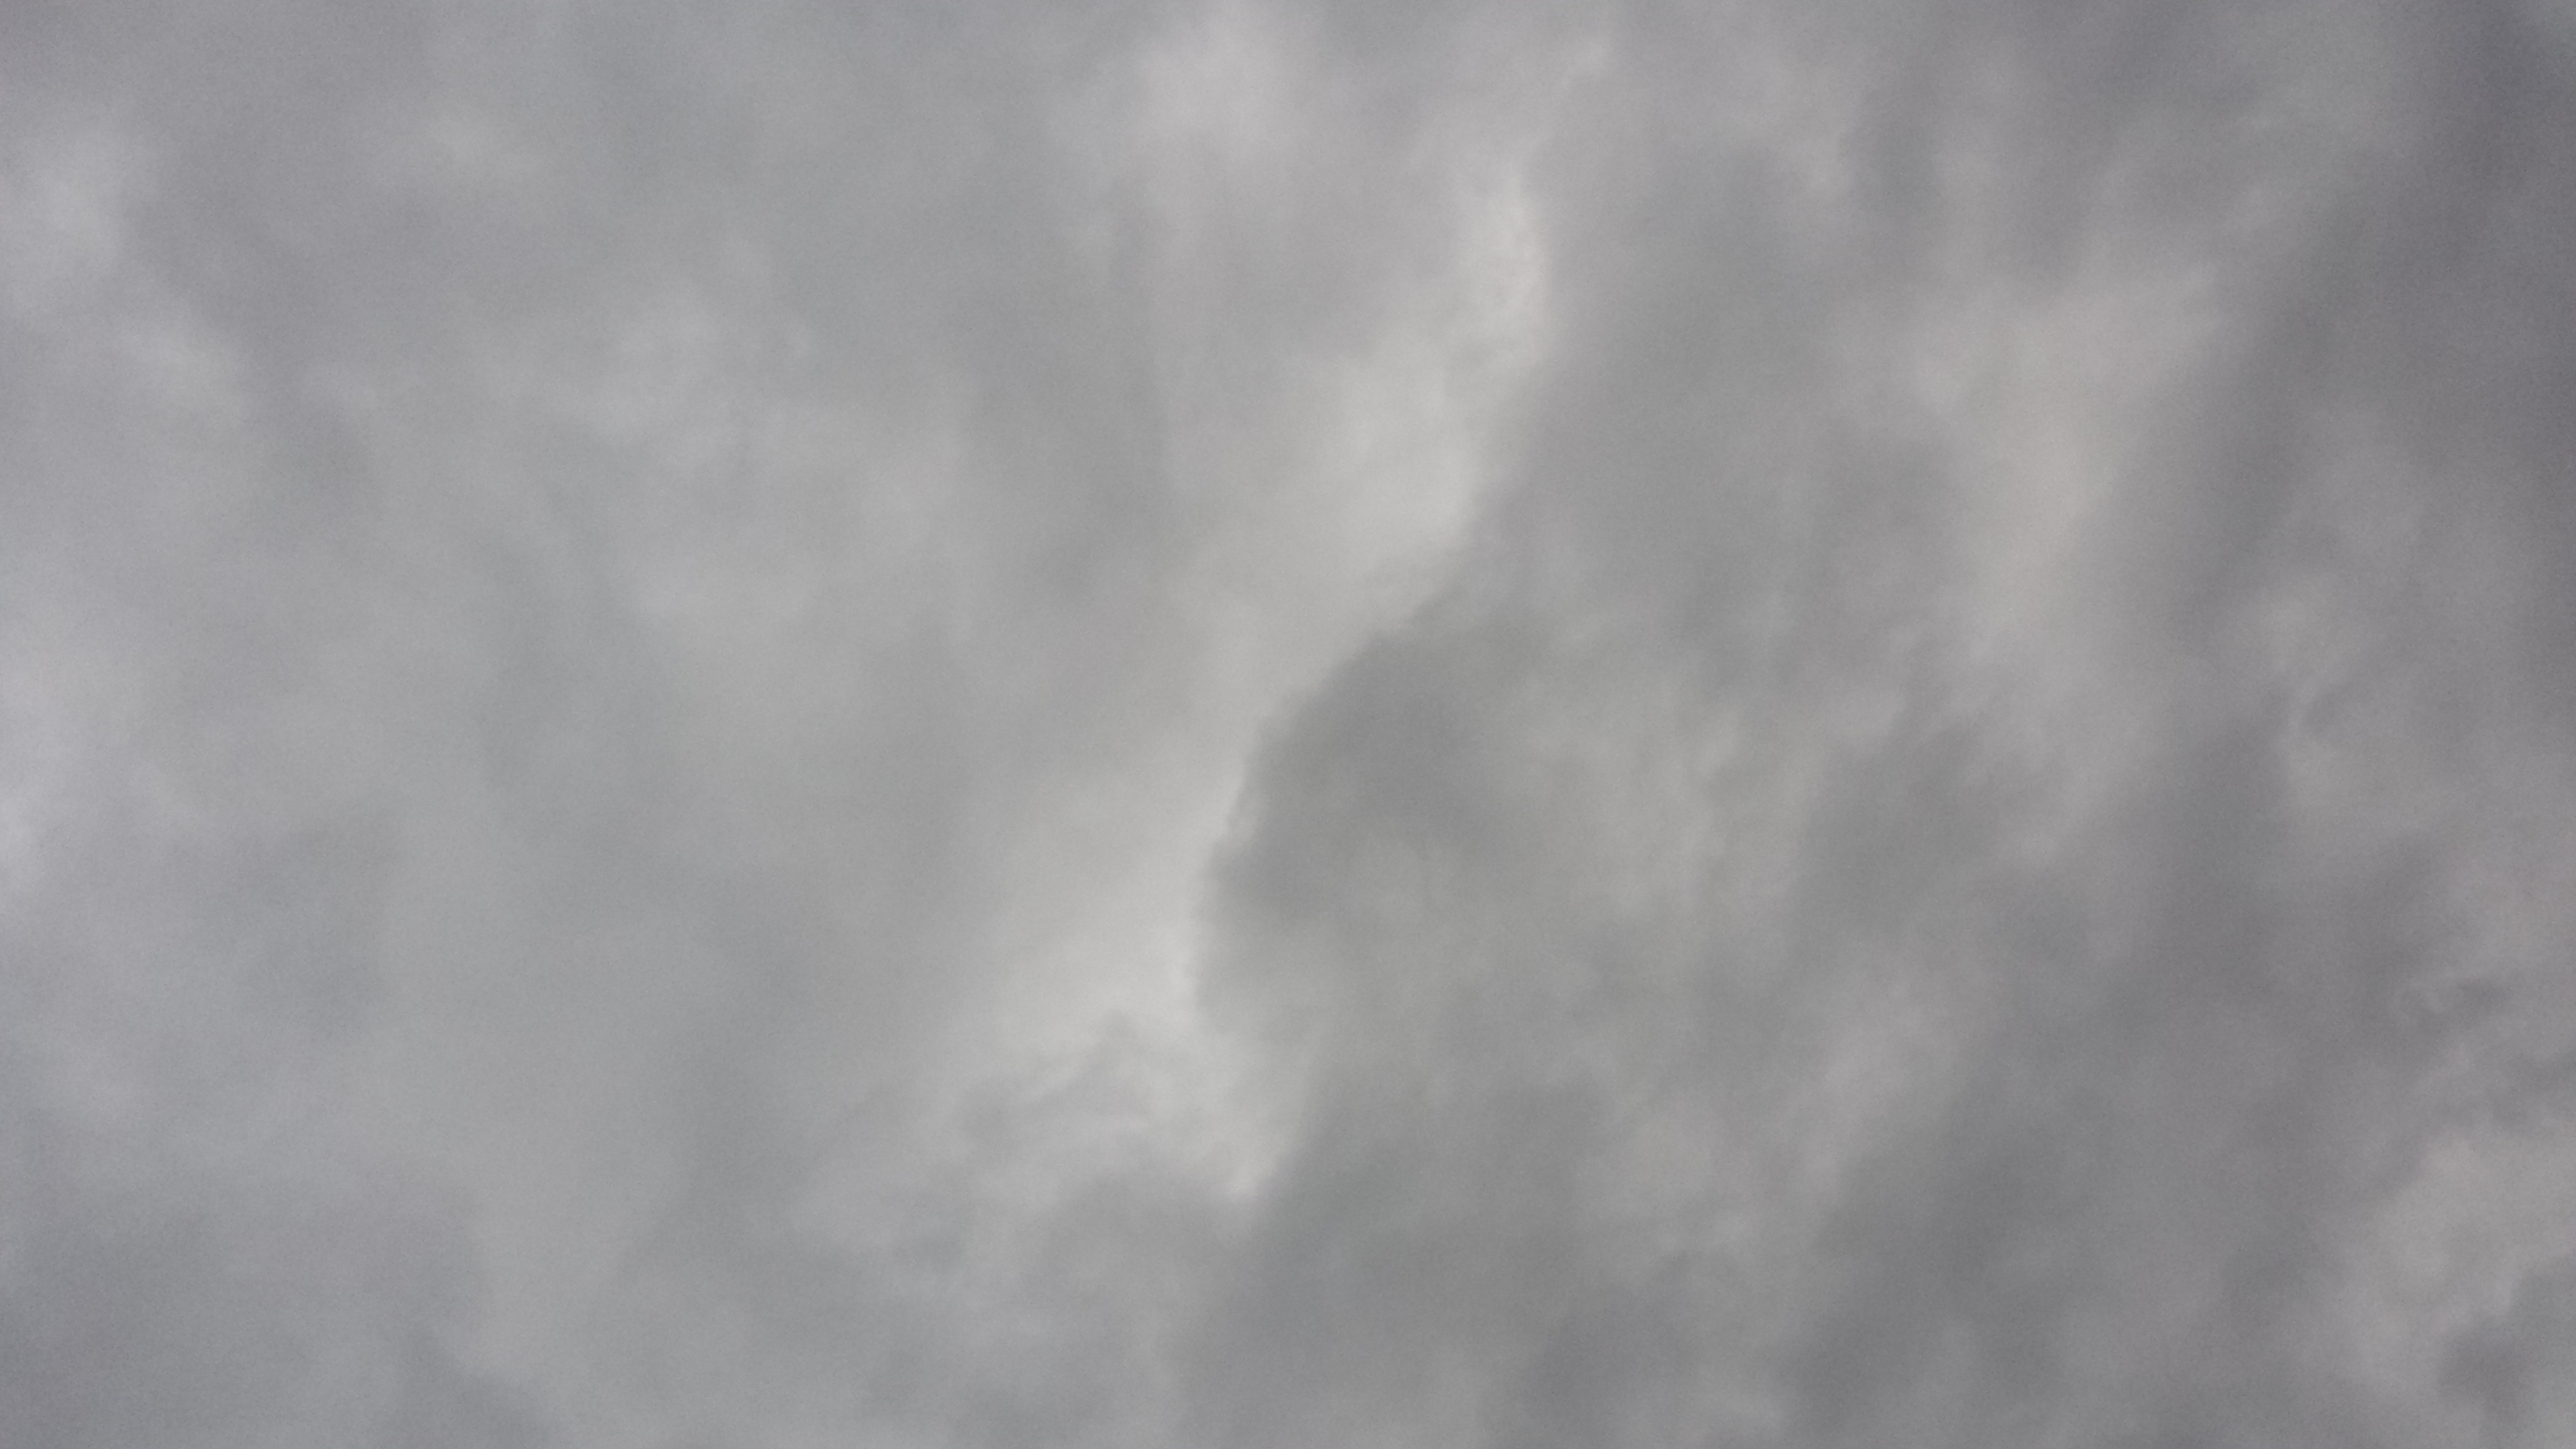
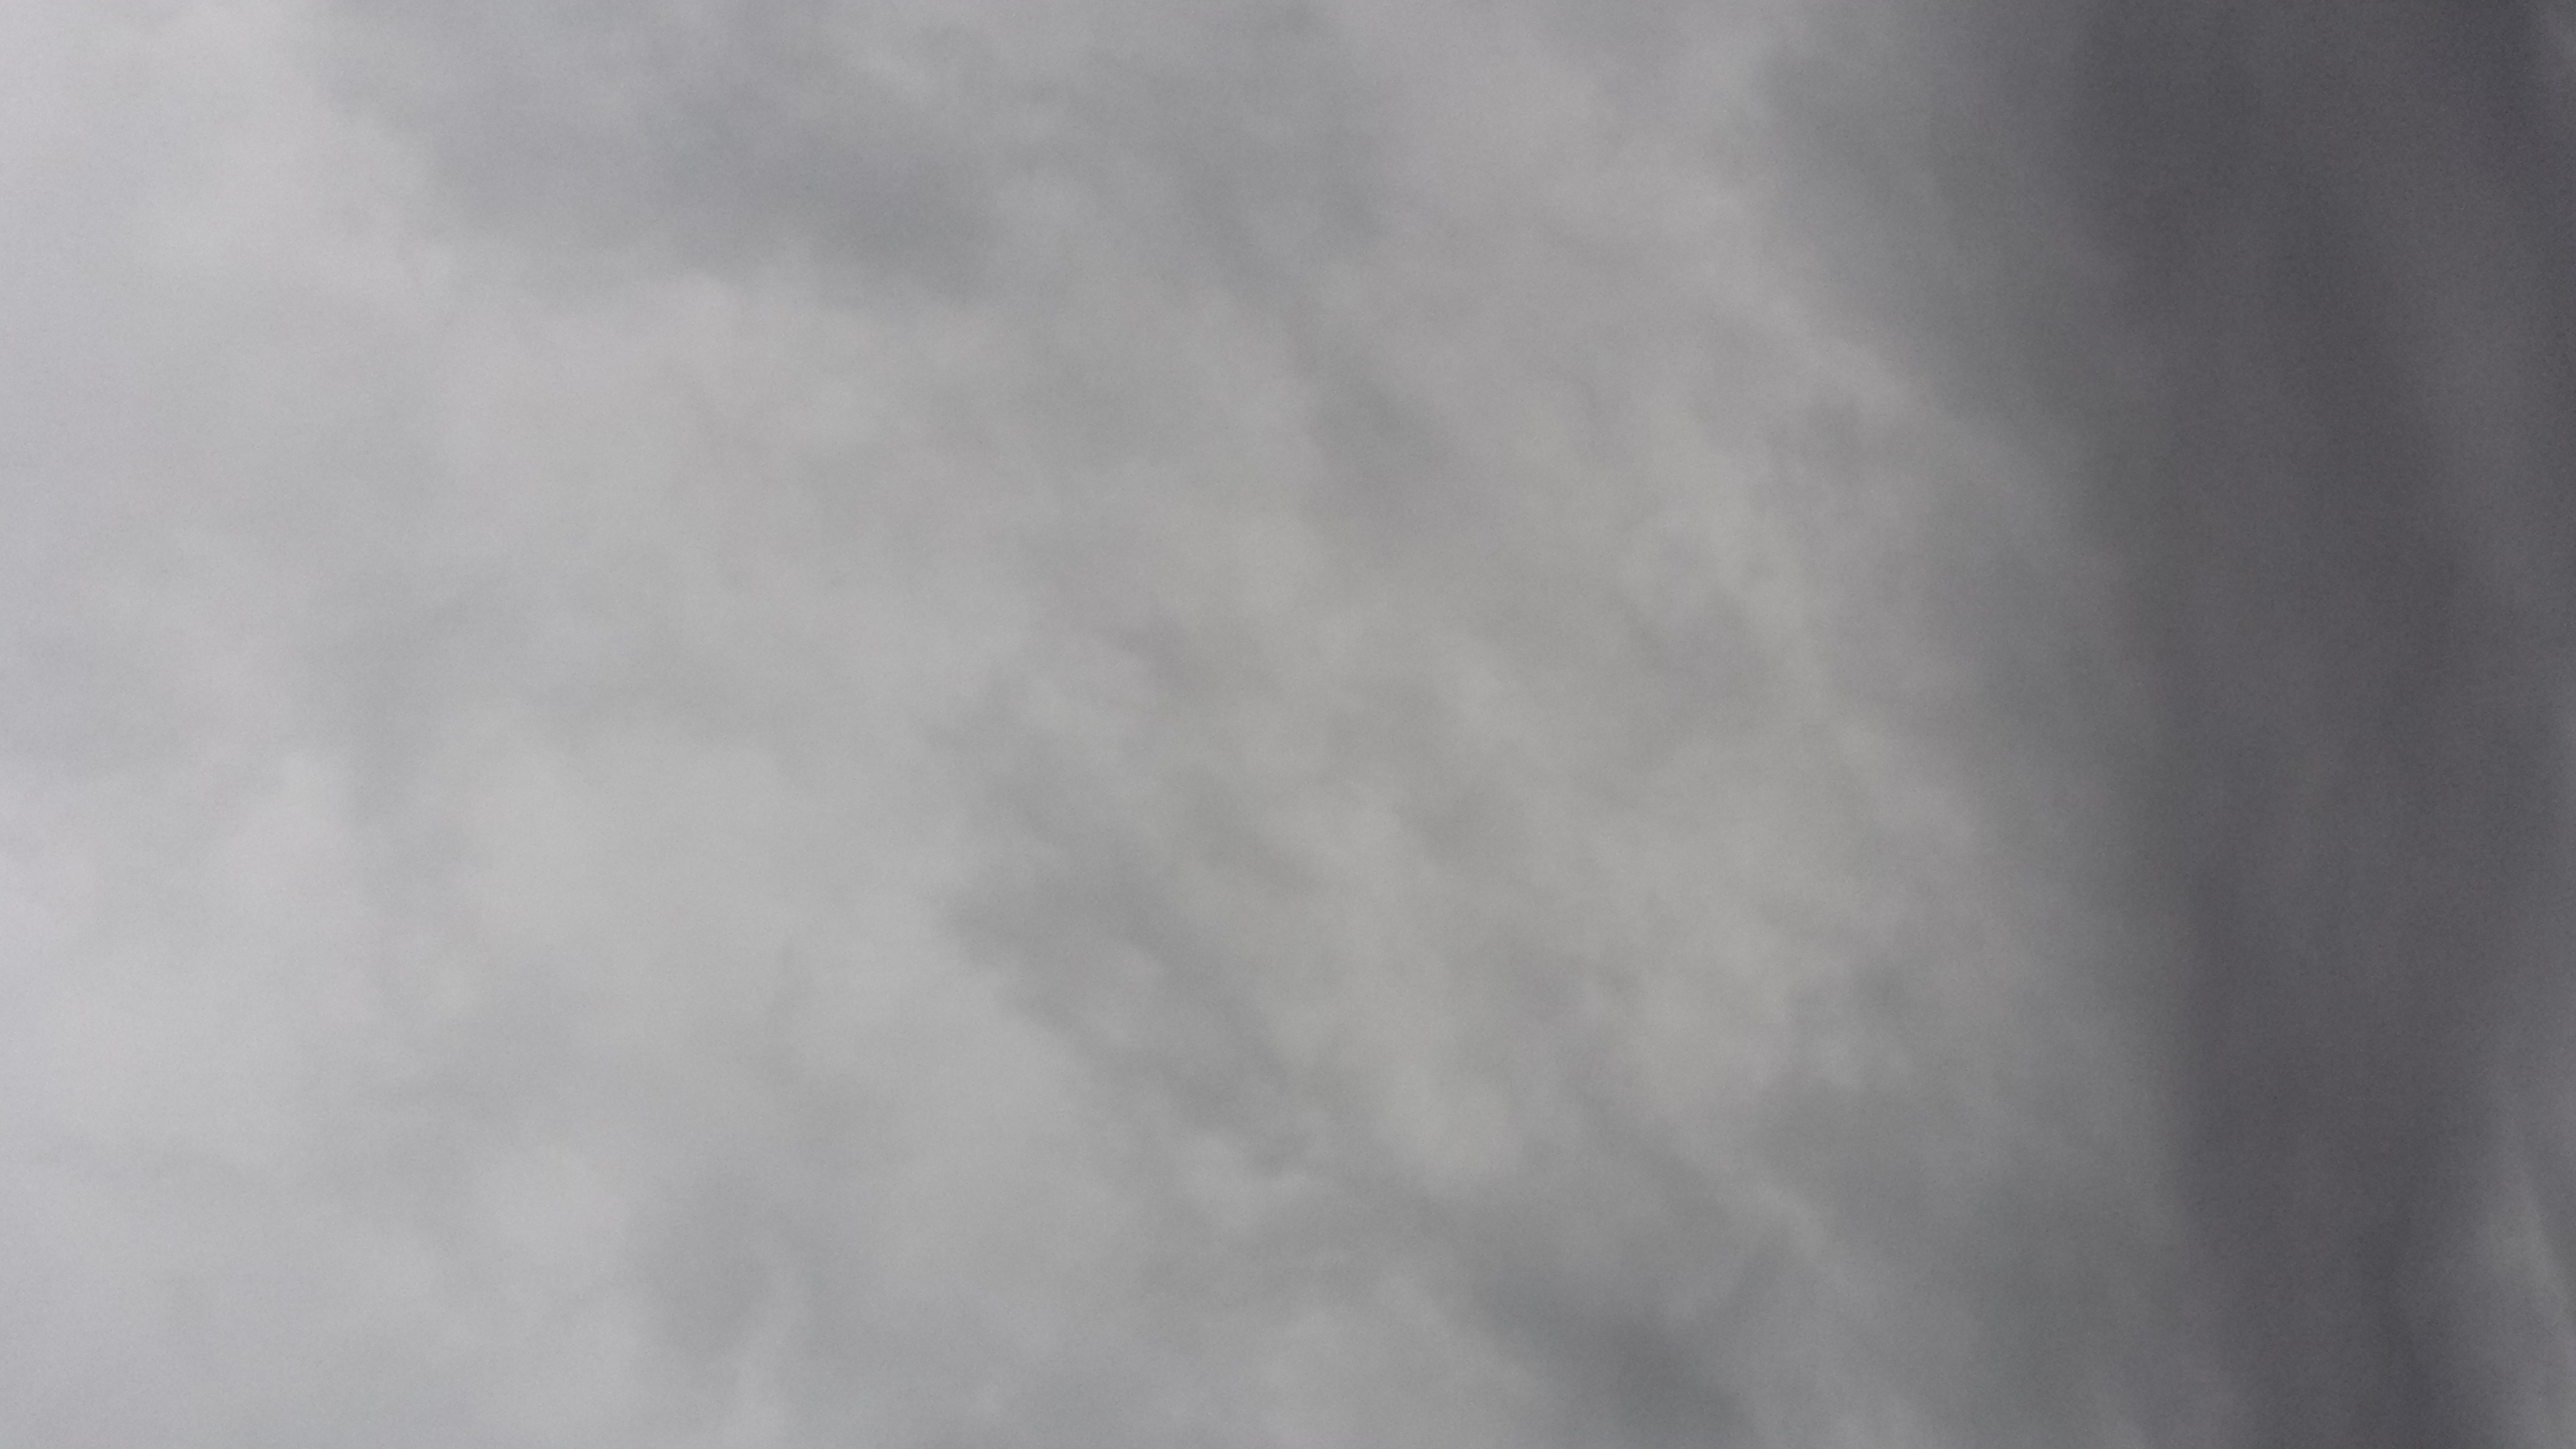
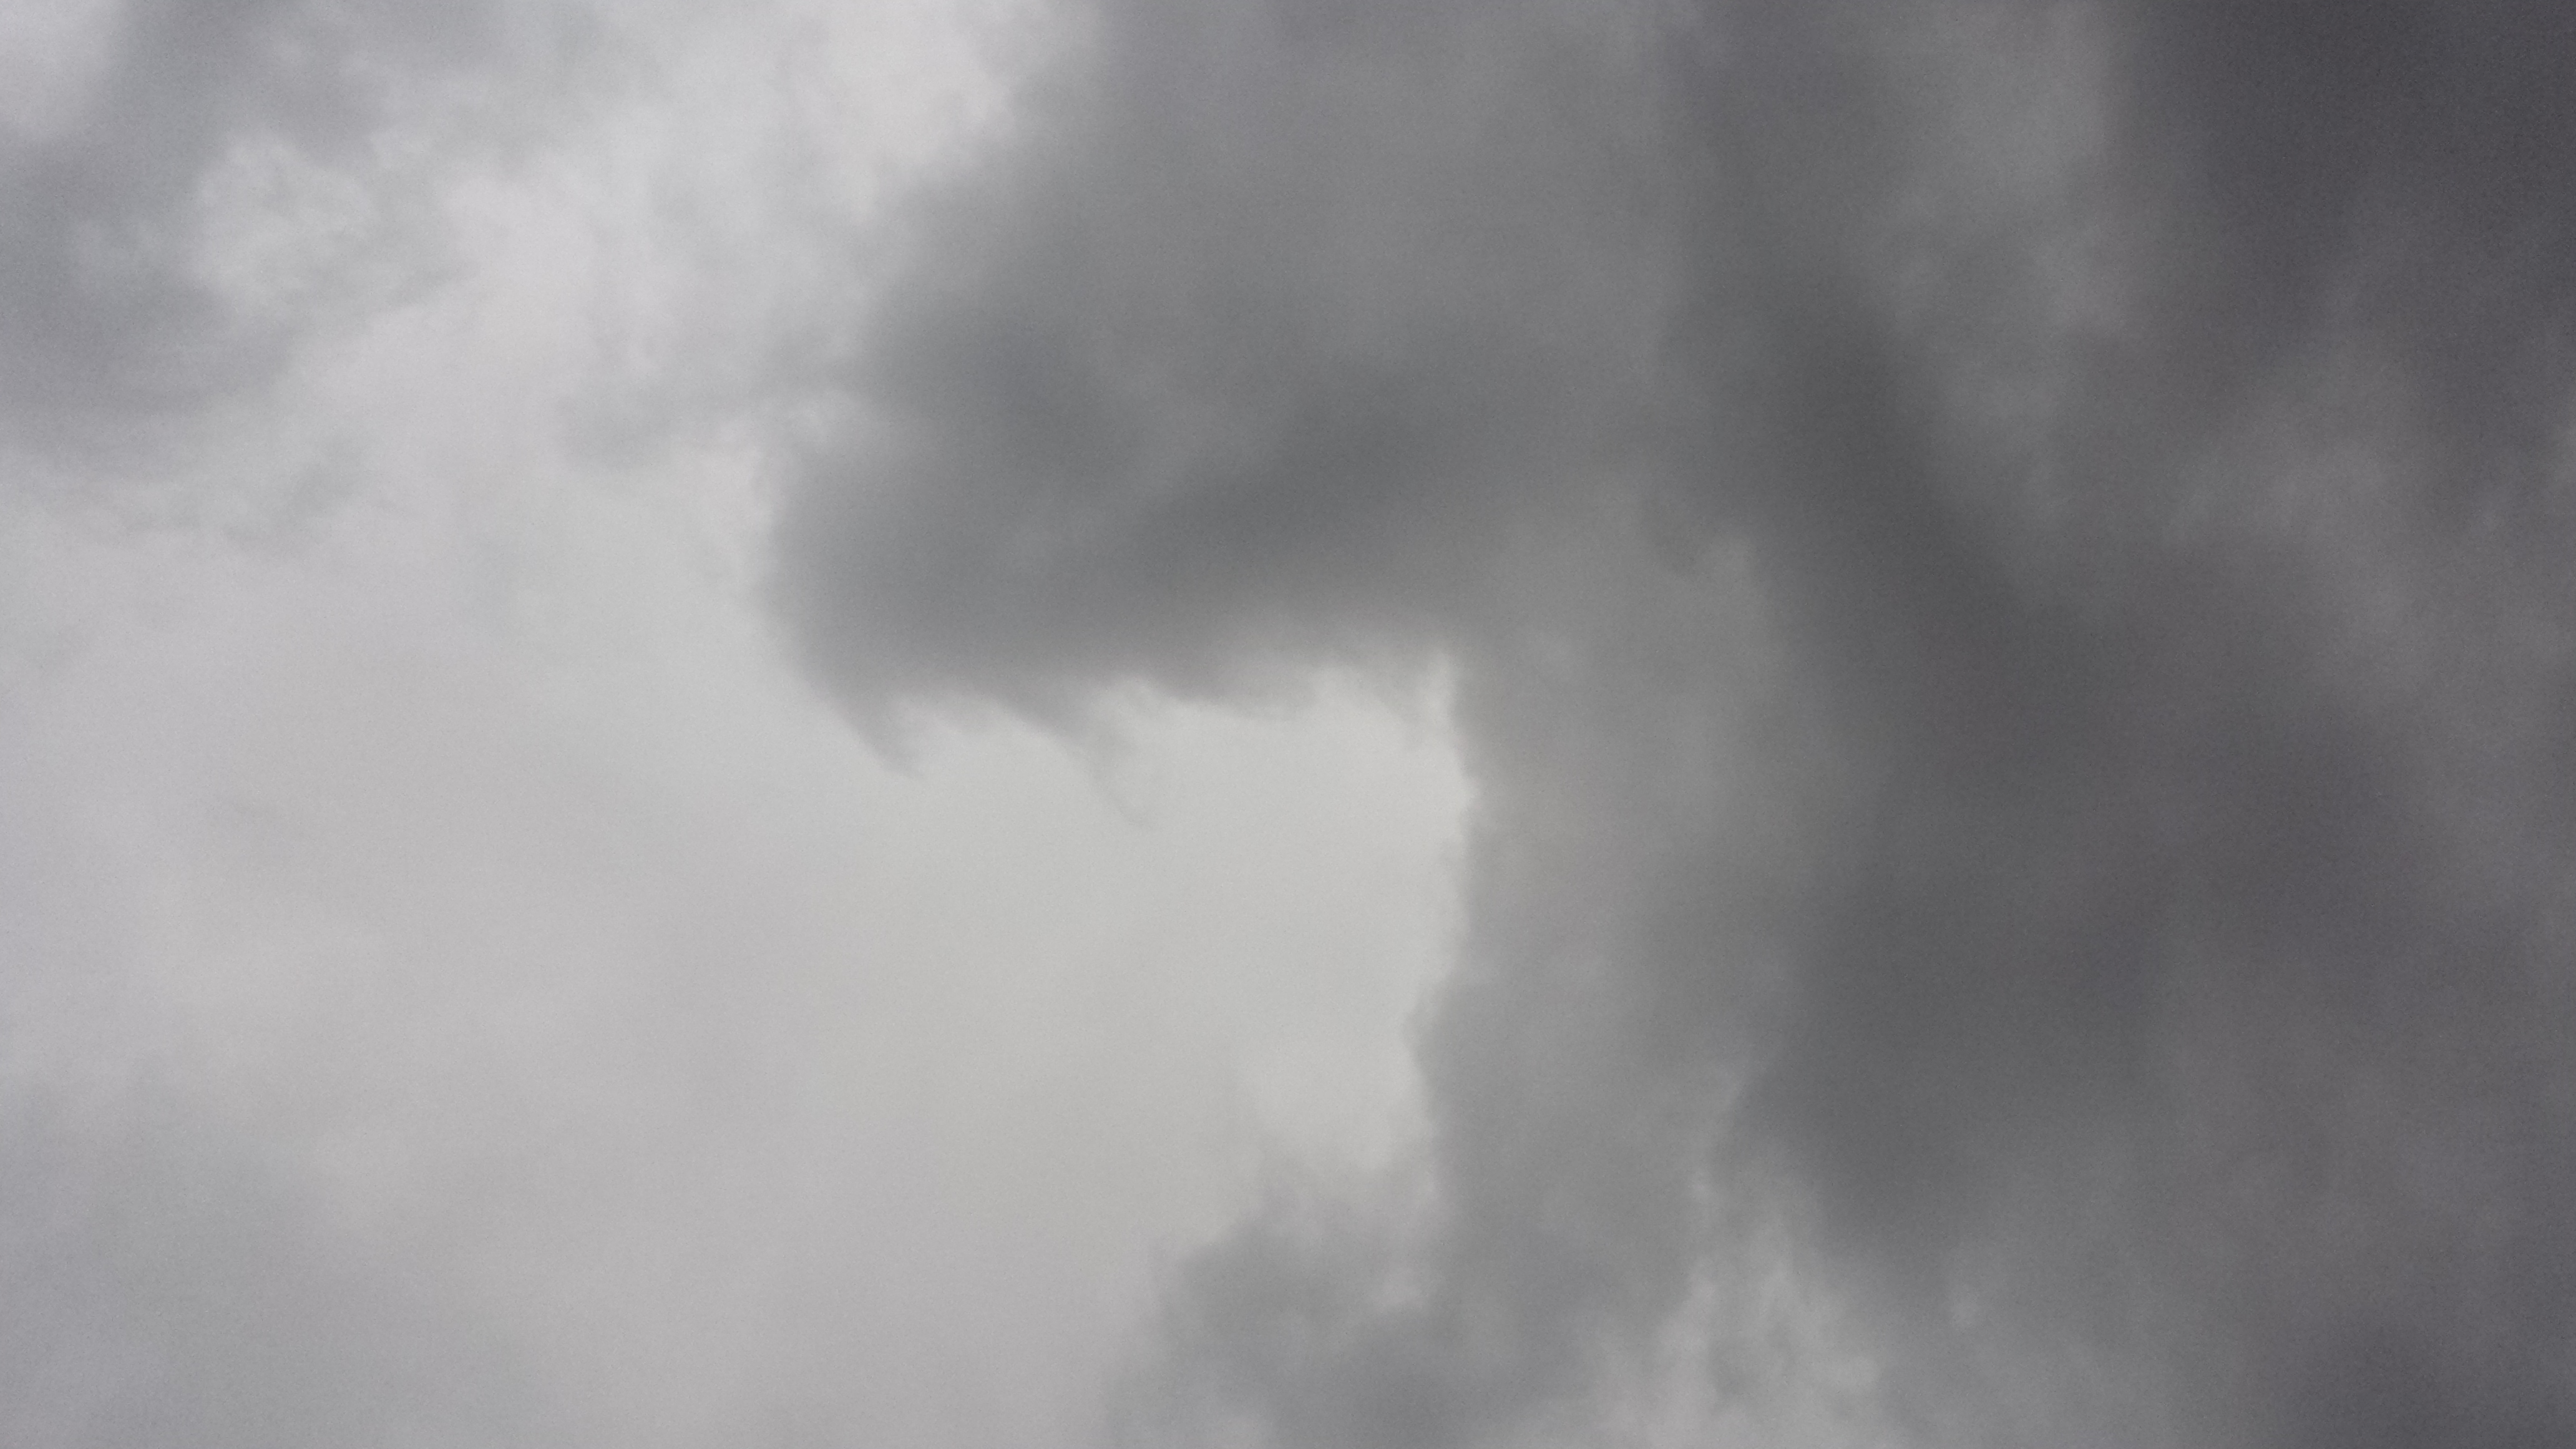
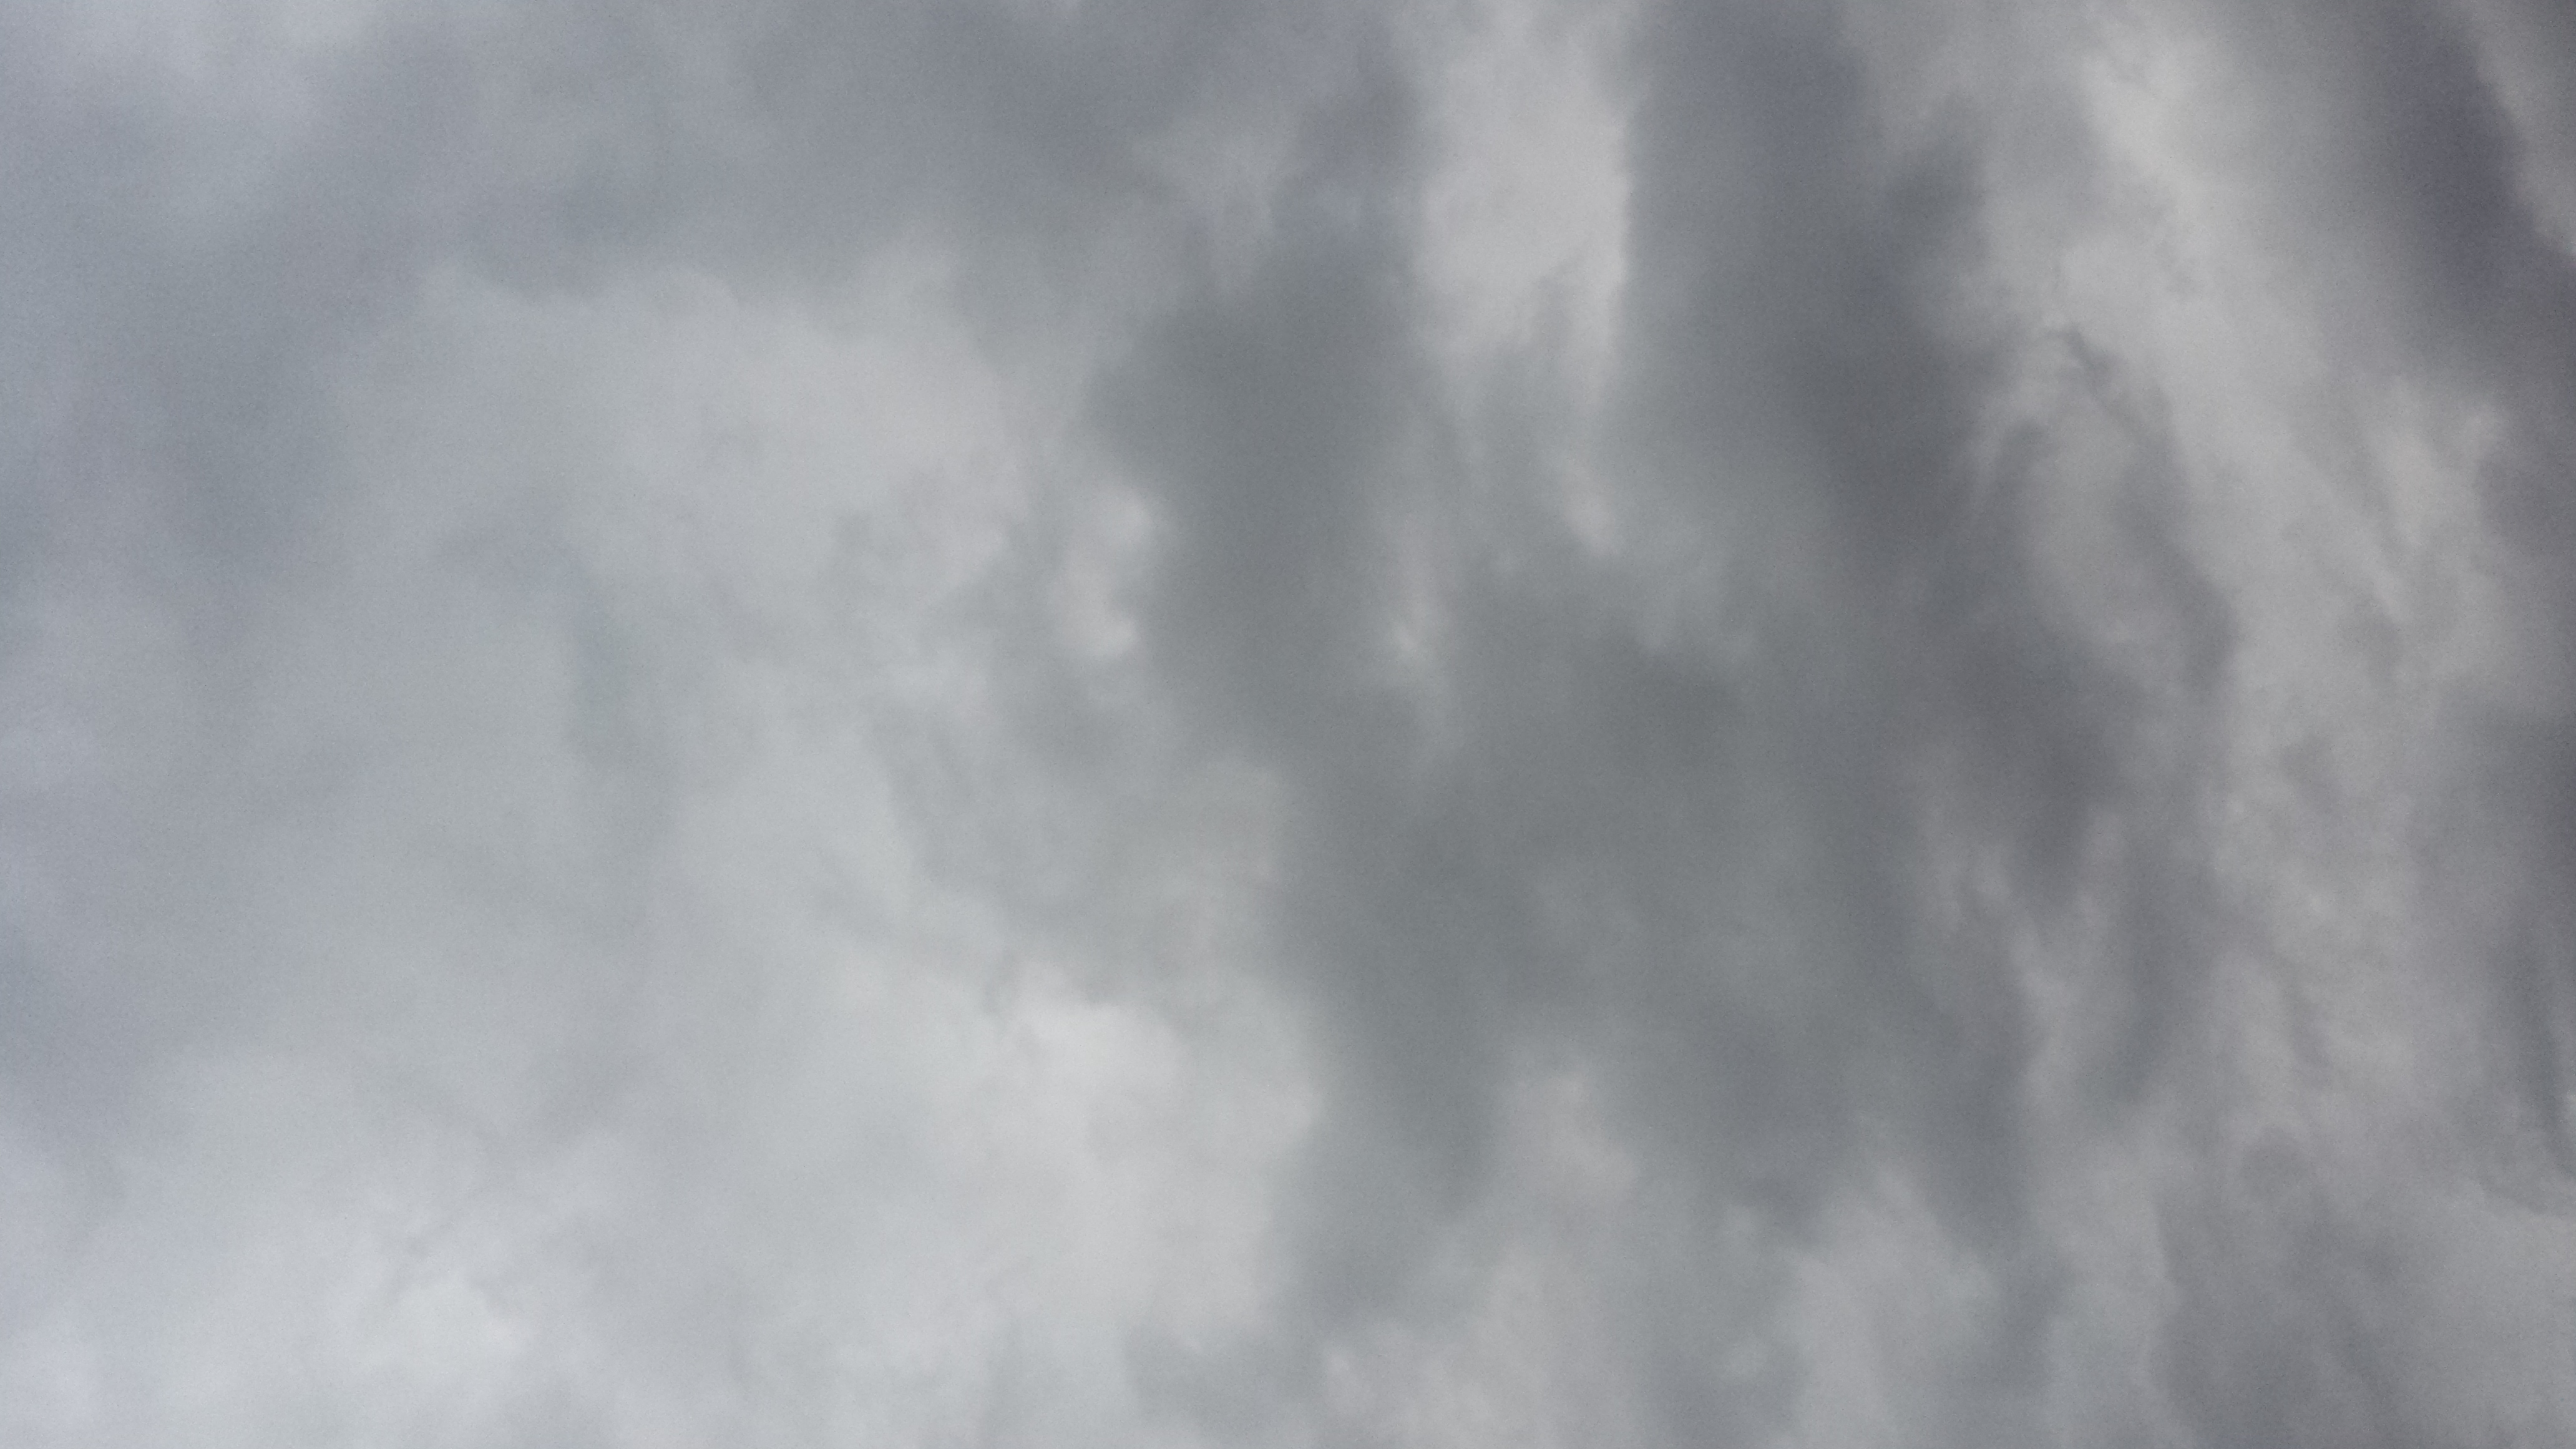
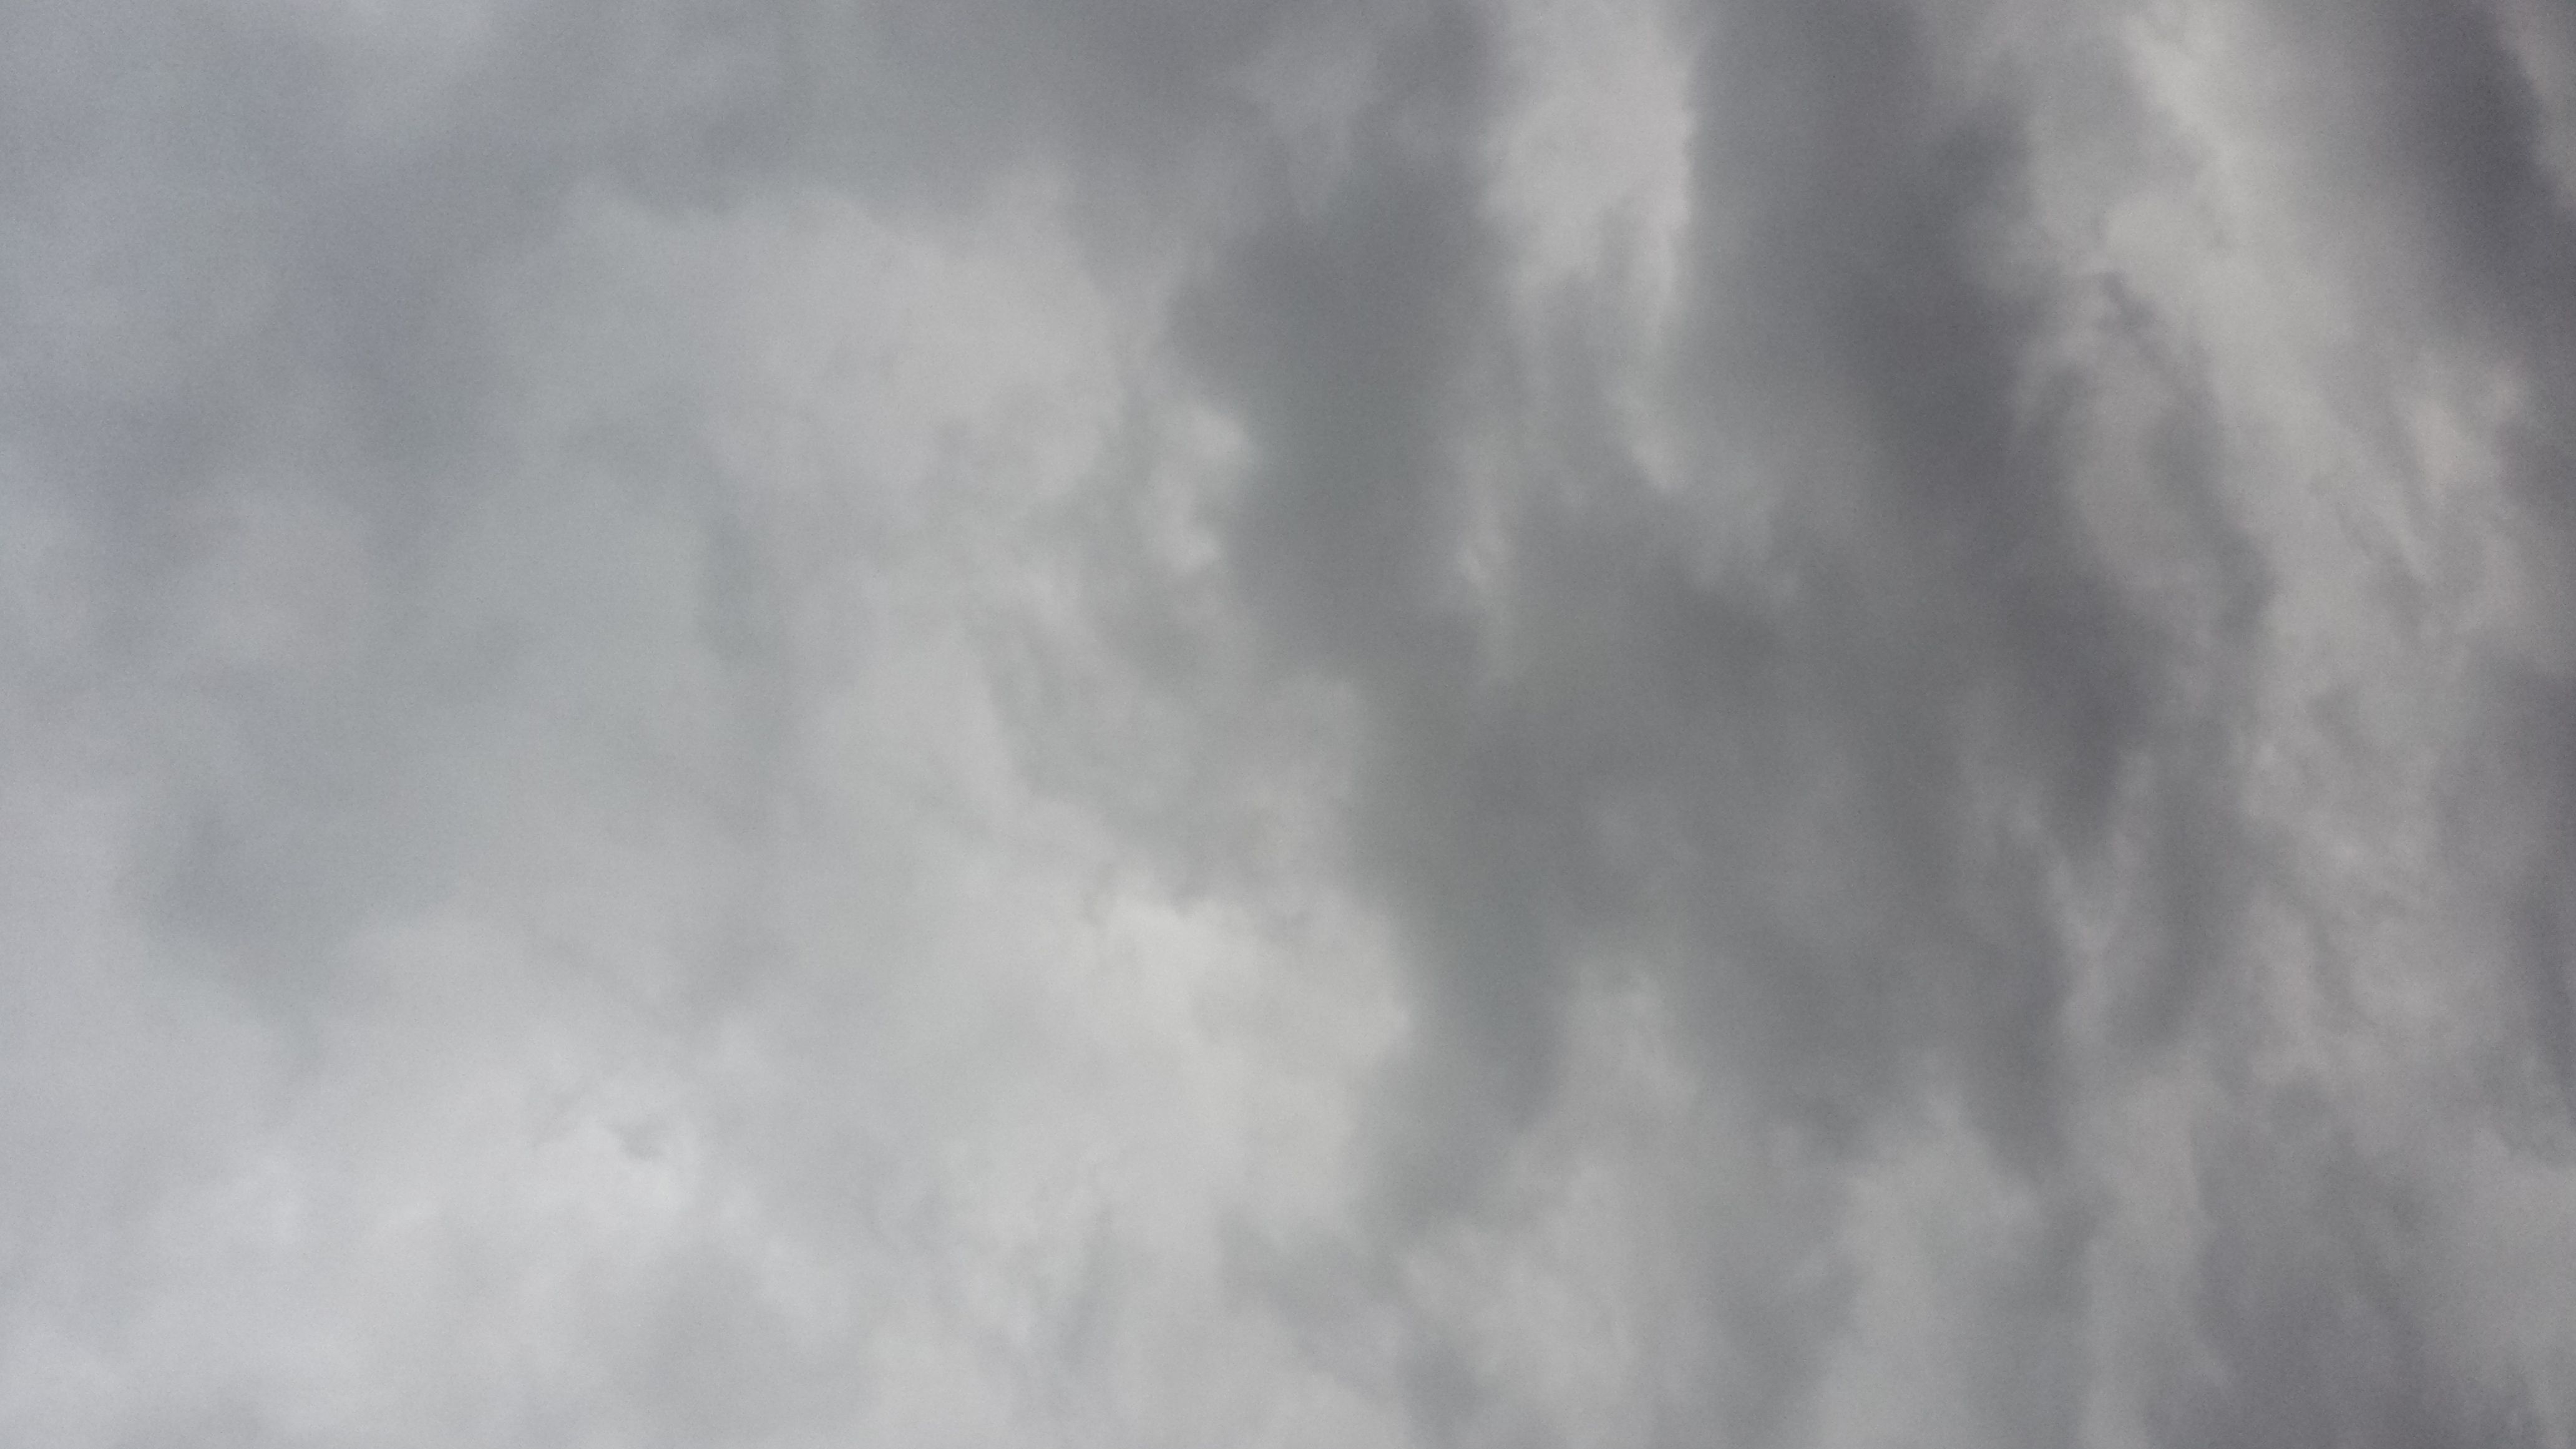
If you don’t have a camera, don’t fret too much. We’ll start with an image of a cloudy sky. I’ll provide a bunch below that you can use for now, or you can find another image on morguefile.com, where you can find hundreds of images free to use.
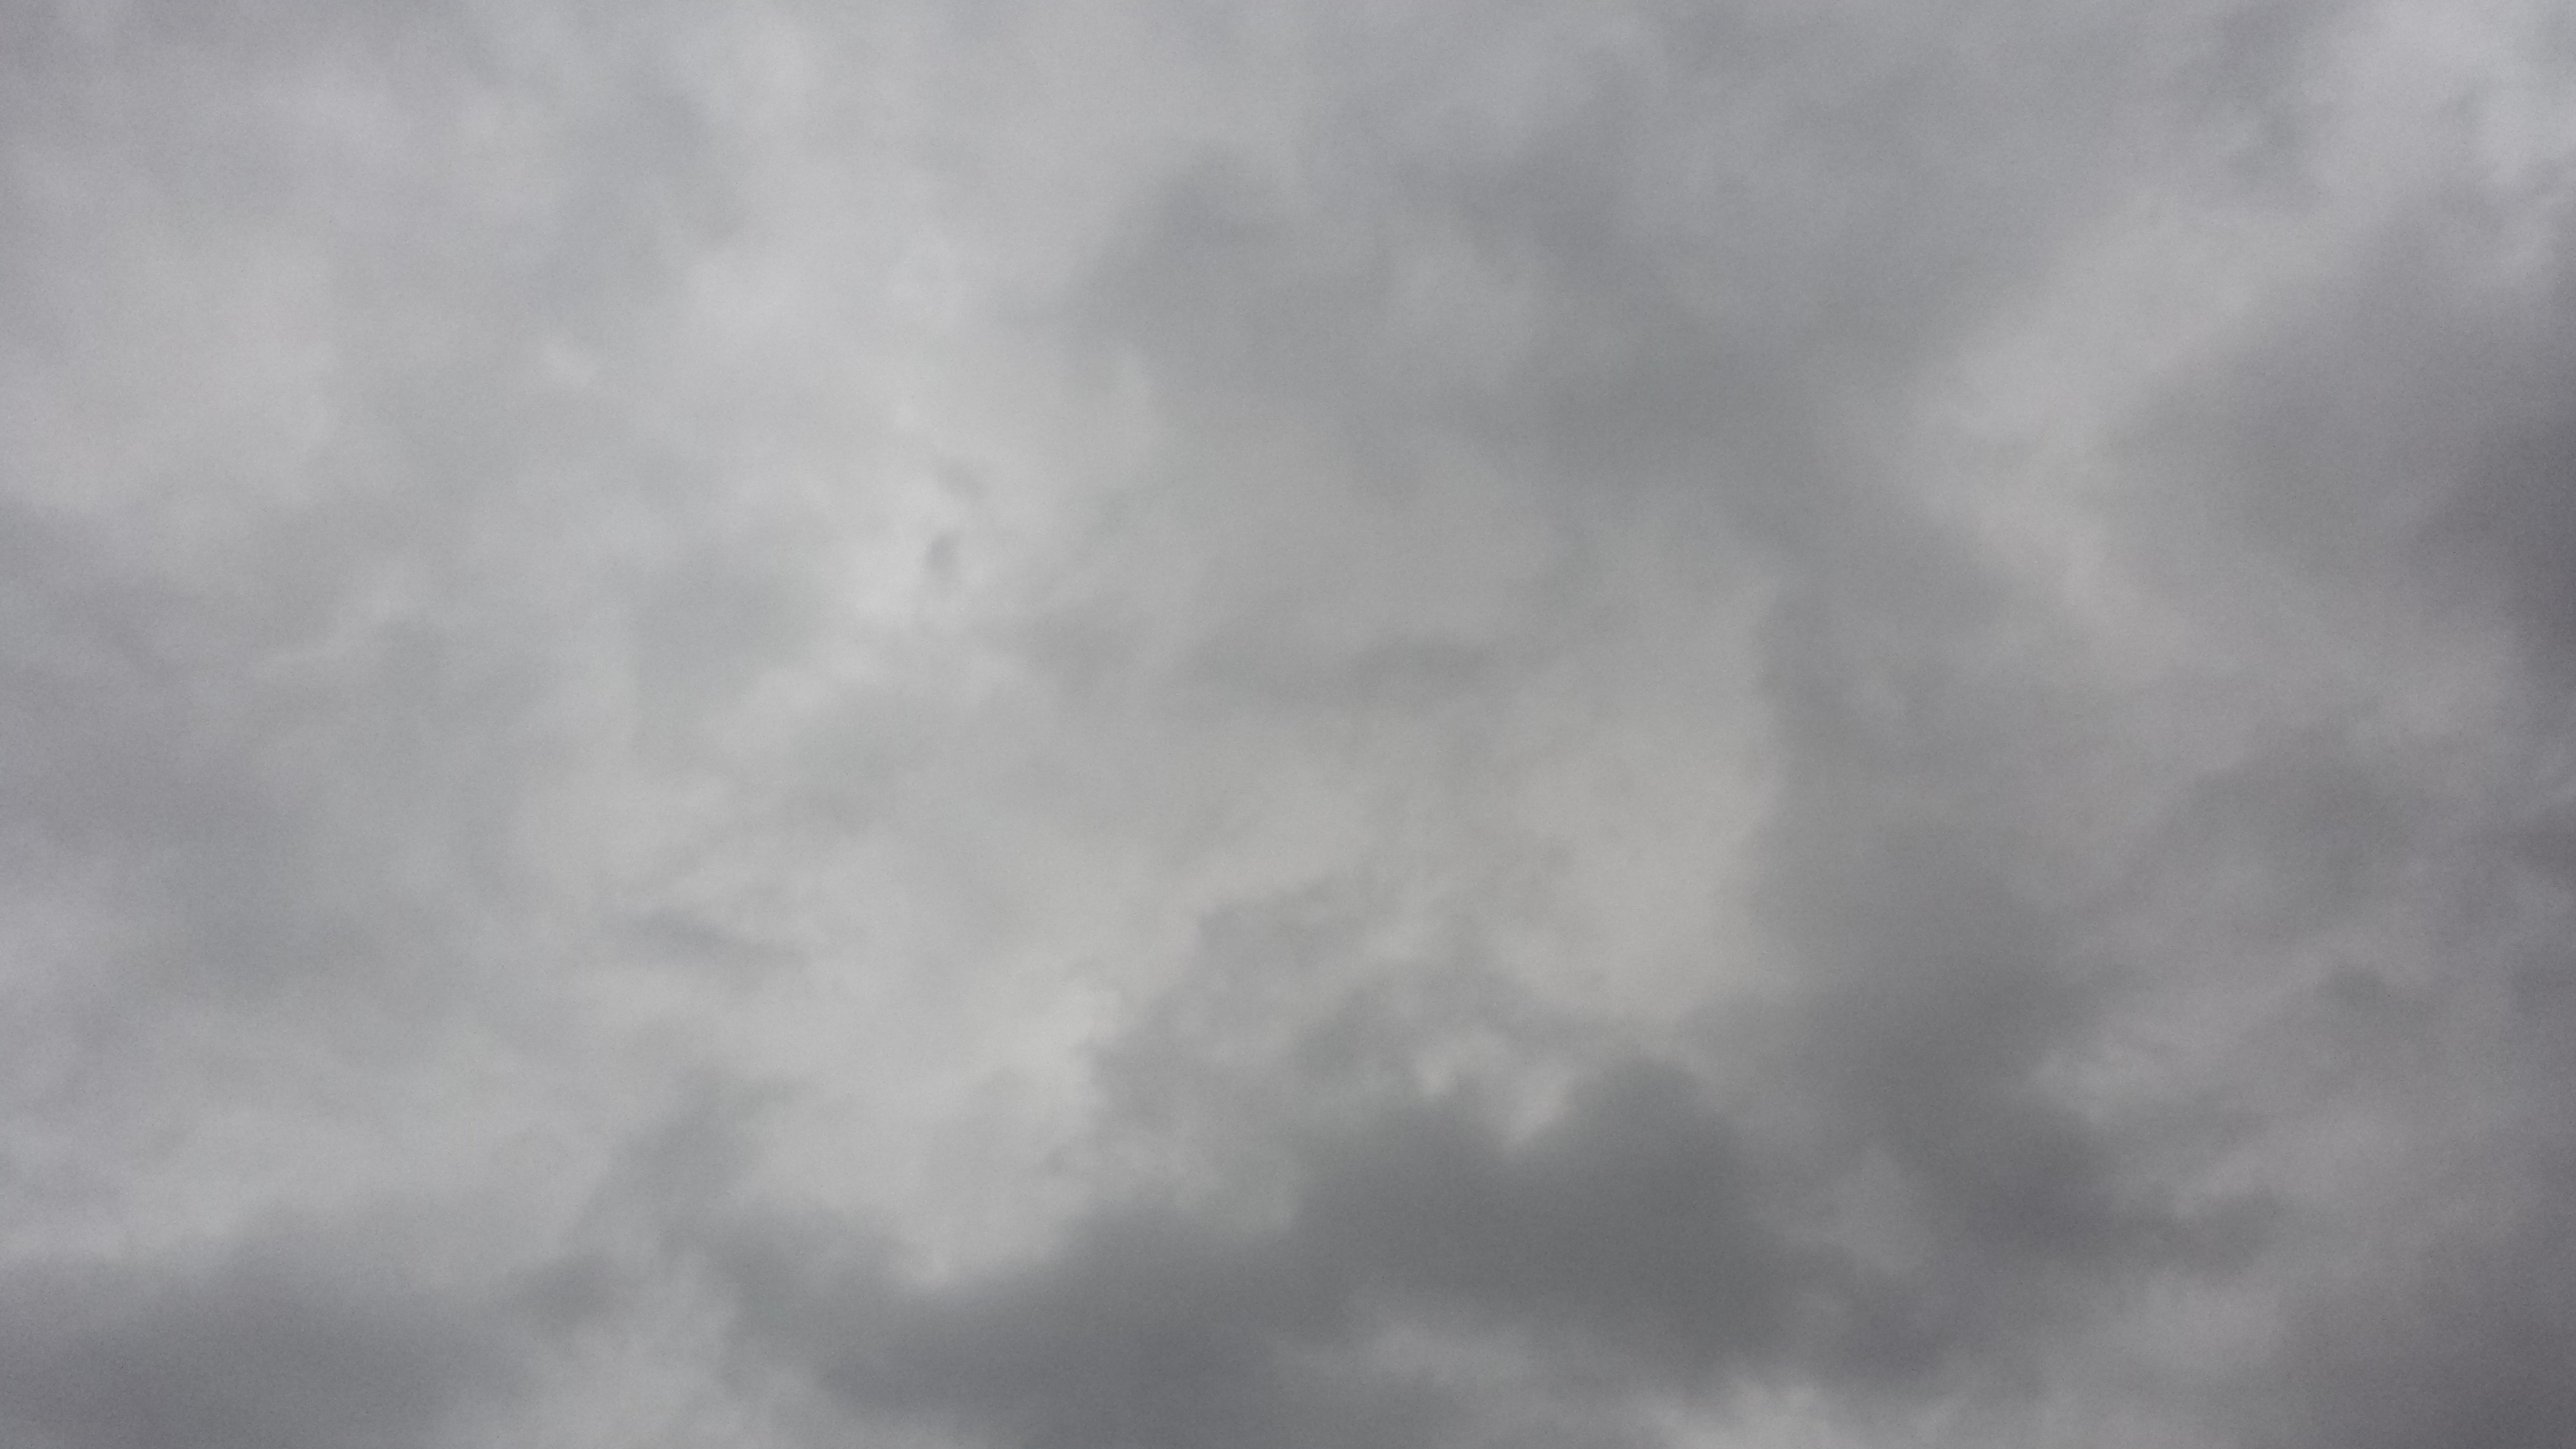
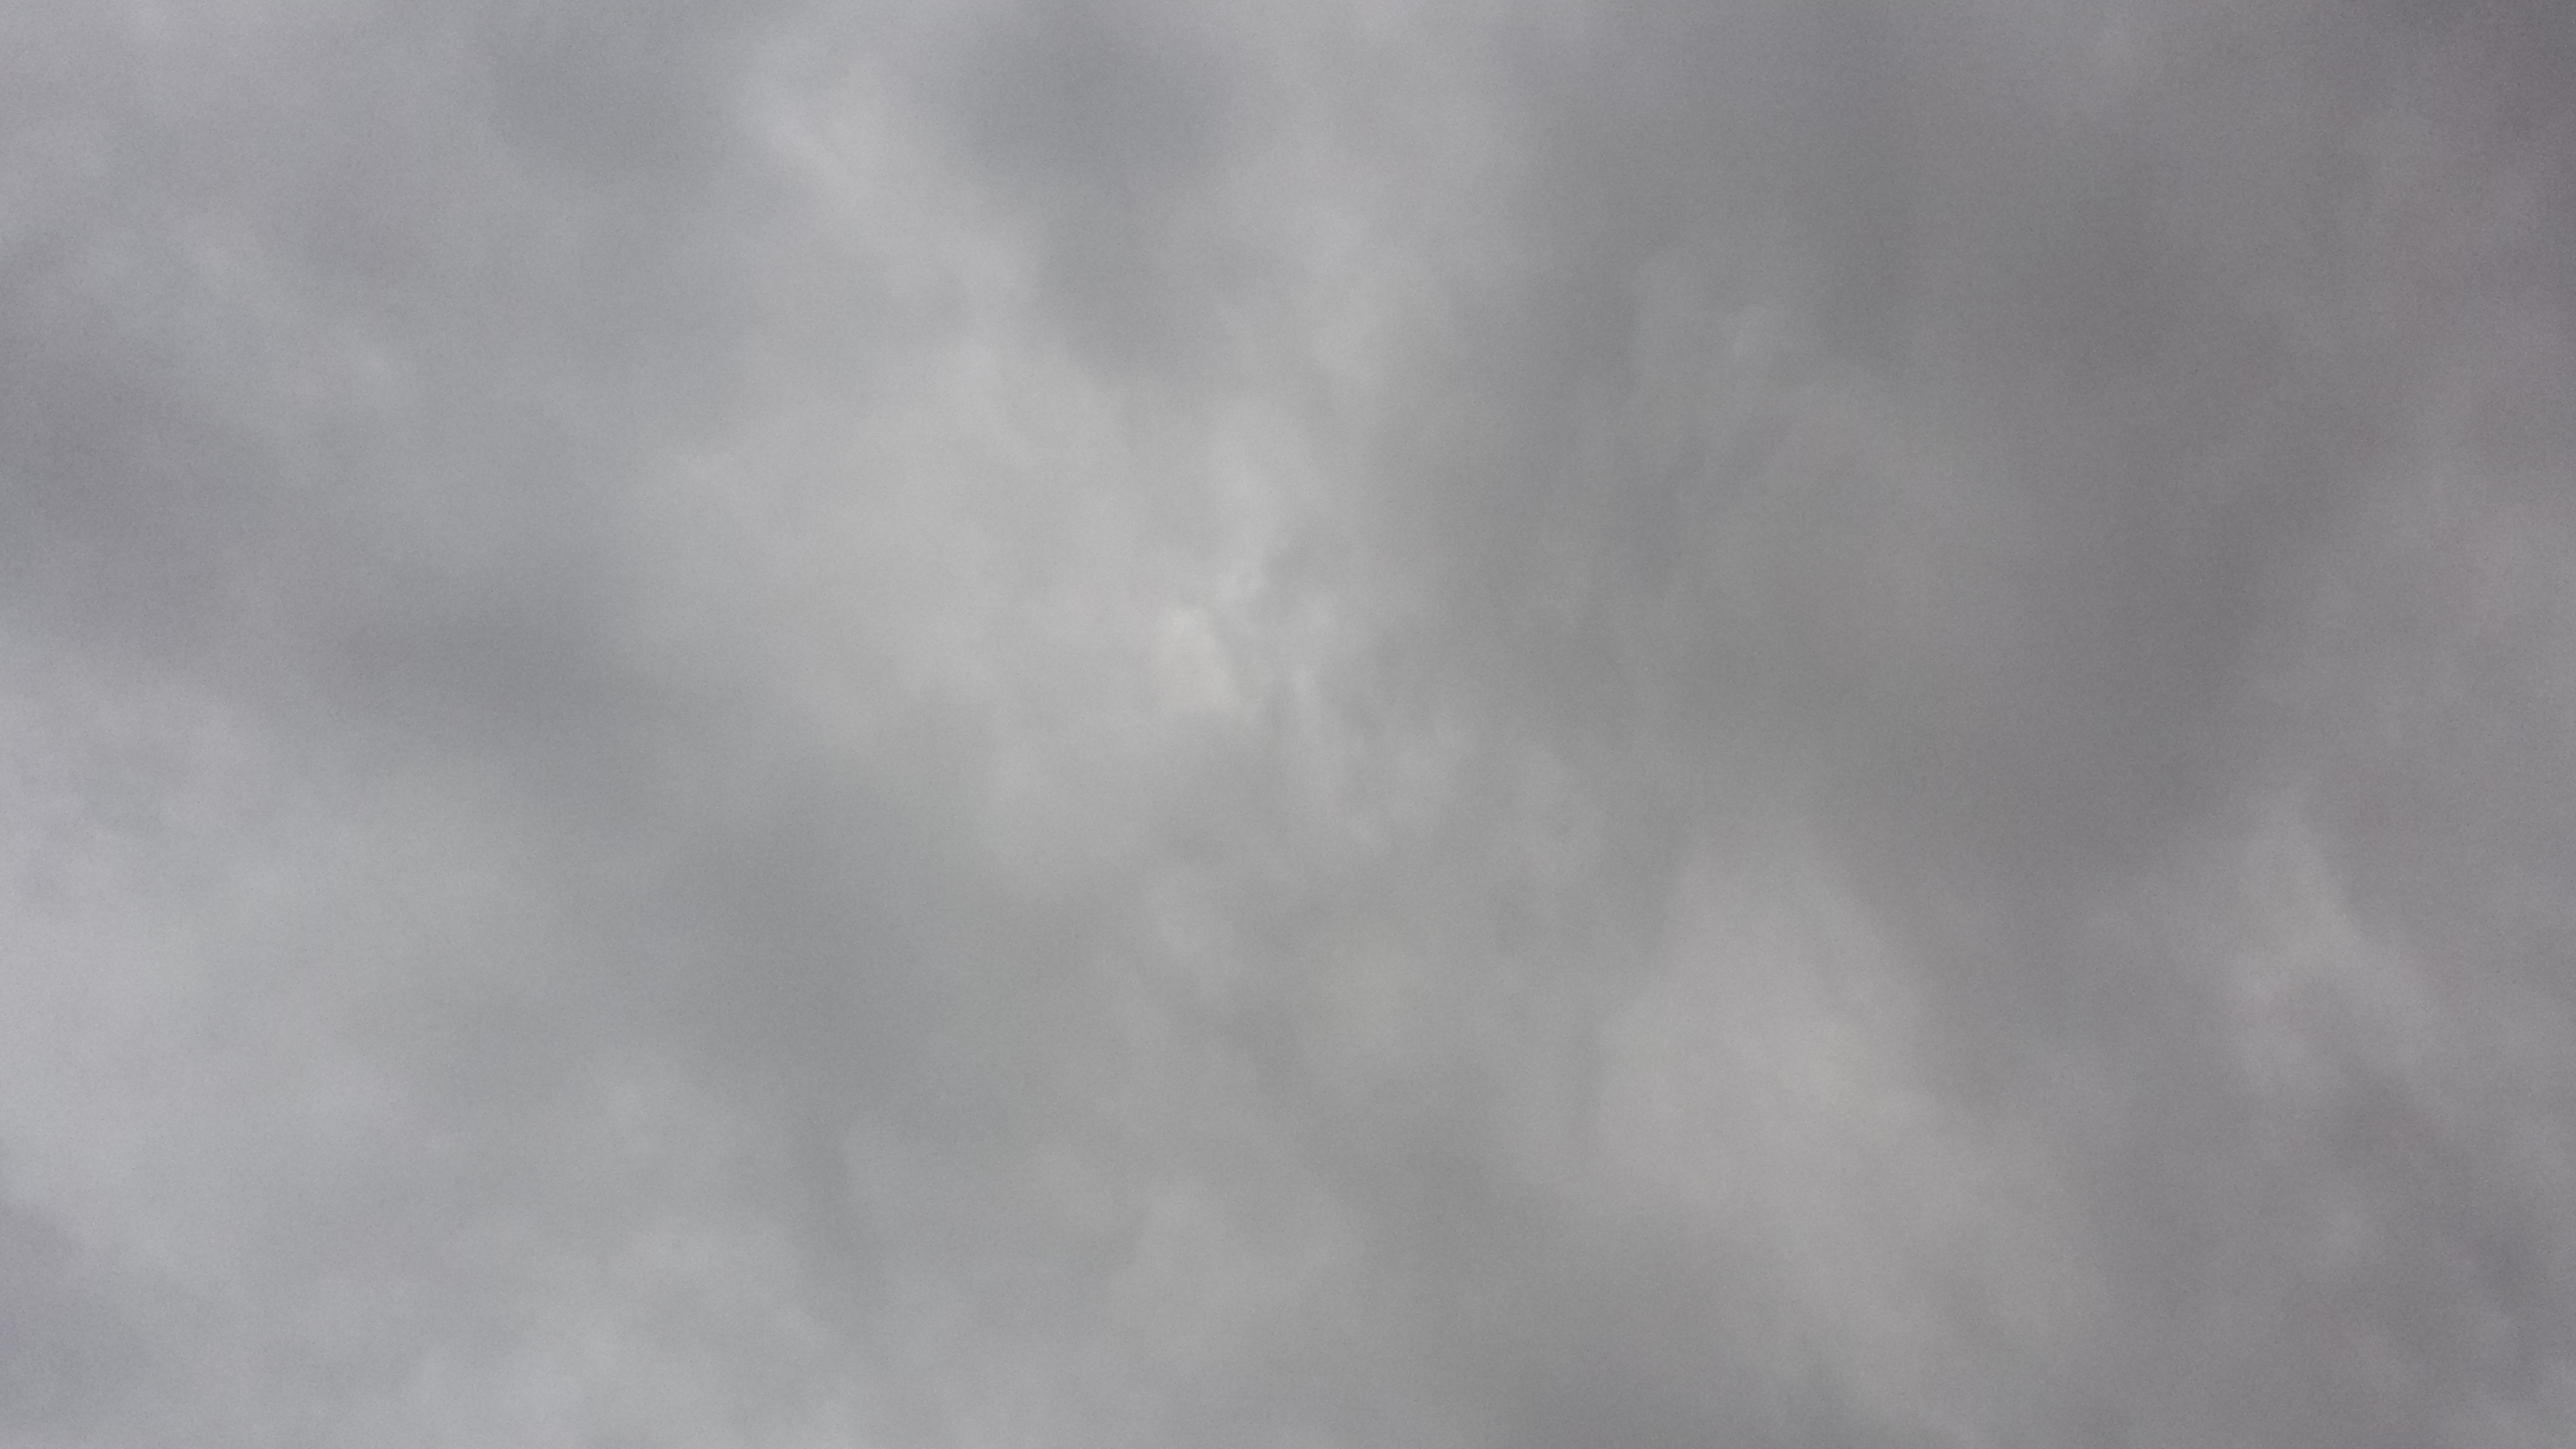
Step One: Take your camera outside on a cloudy day, and find a nice cloud to photograph. It’s best if you can find some clouds that are more mottled in tone, rather than super contrasty. Something like this:
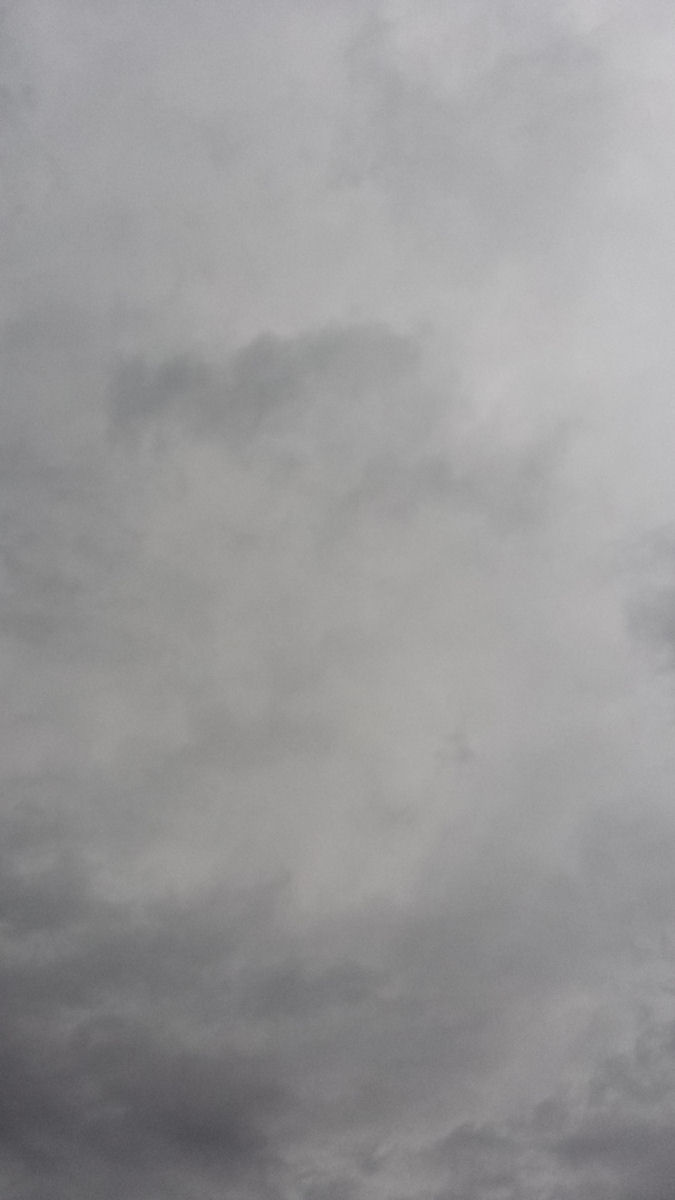
Take the photo, then transfer it to your computer. Open the image in your image editor of choice (or the one you happen to have).
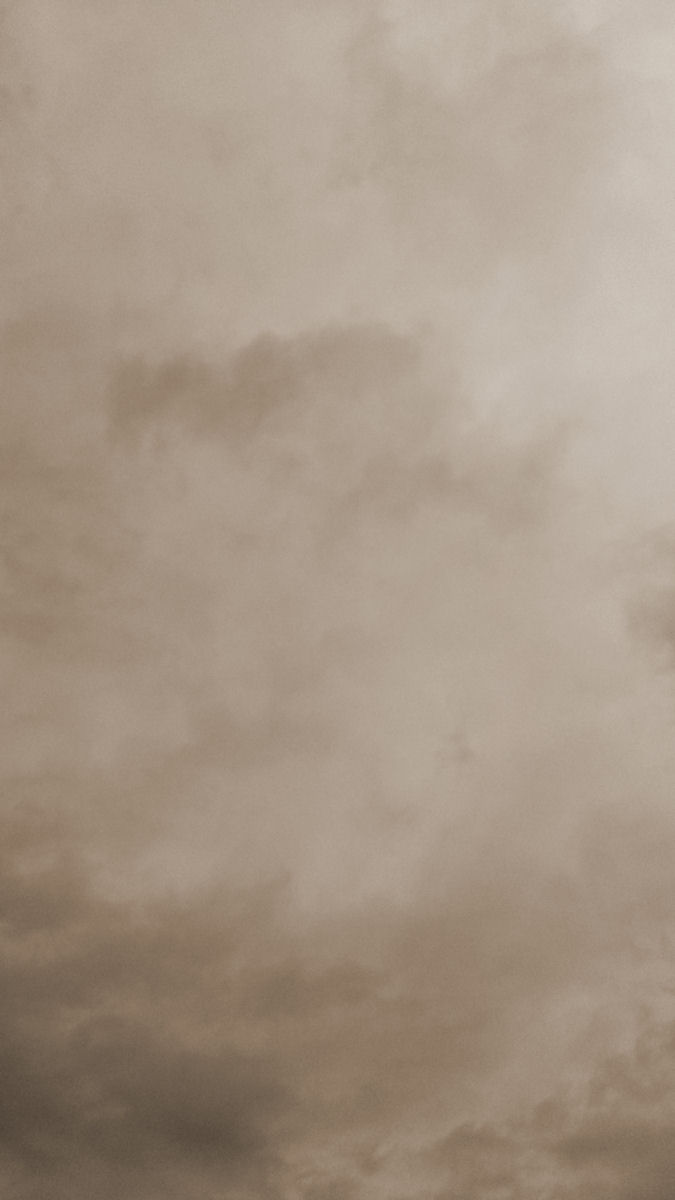
Step Two: Colorize the image. I like to make it look like parchment paper in this step, by choosing an orange hue, but reducing the saturation until it looks like old paper, like this:
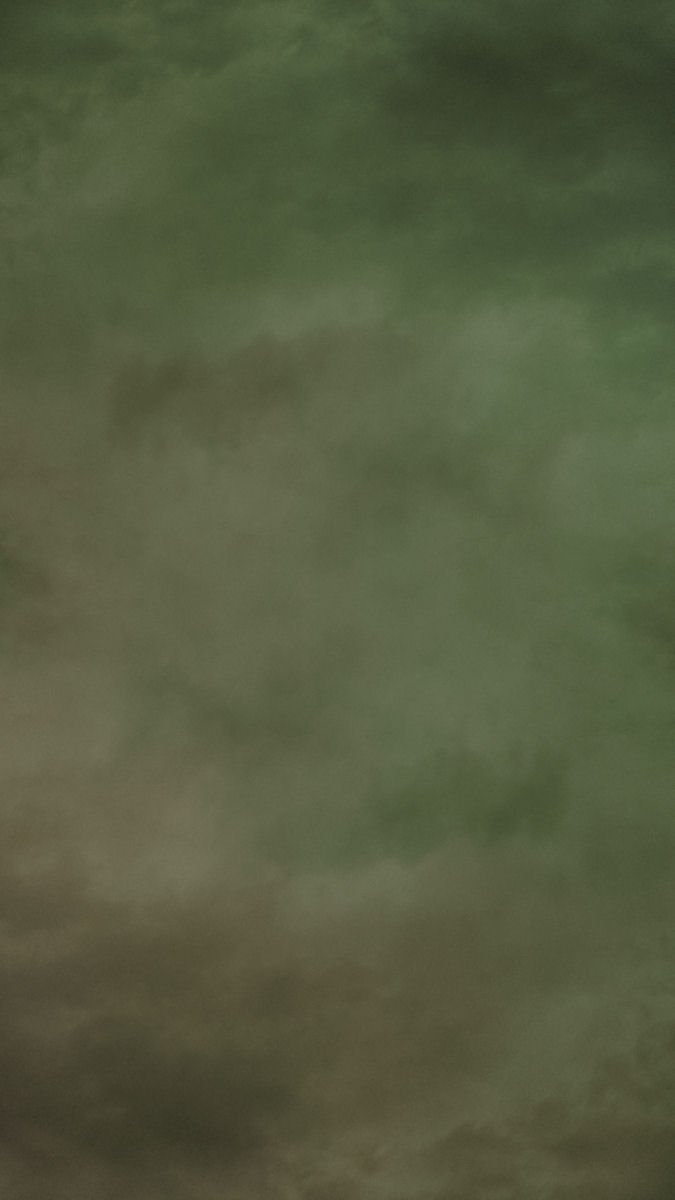
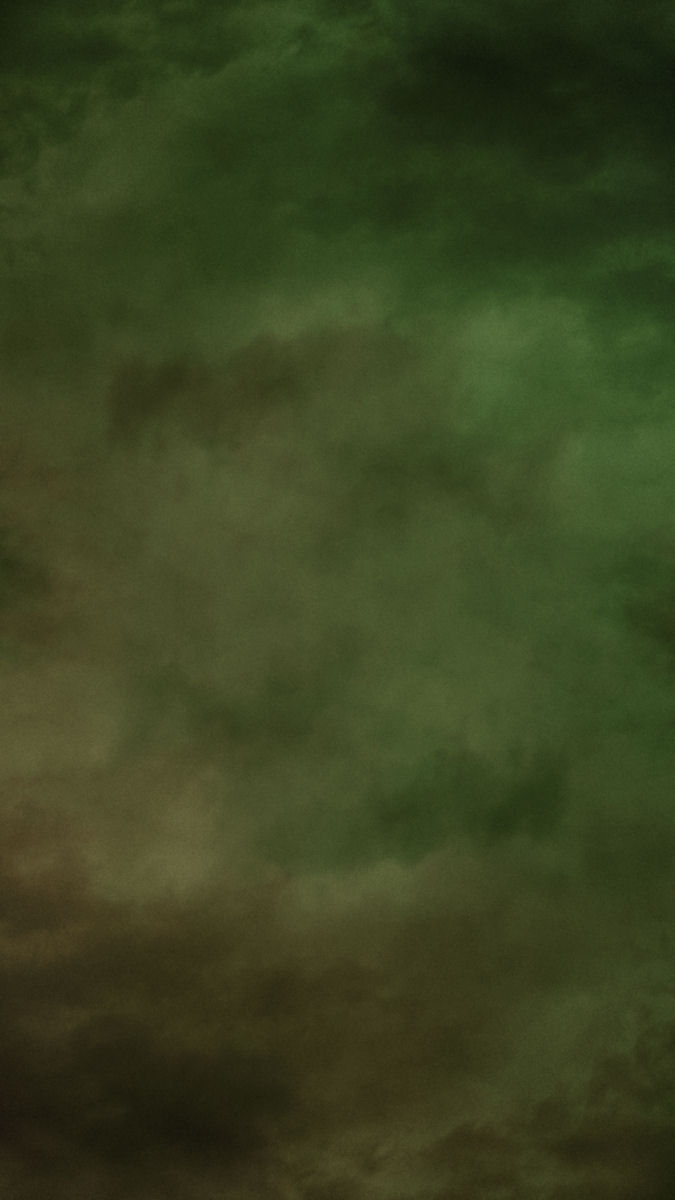
Step Three: Duplicate this layer, then colorize it to a different color. I chose a nice green. Again, I desaturated it a little. Like so:

Step Four: Rotate the green (or “top” layer, if you chose a different color) layer 180 degrees. Or you can “flip” and “mirror” the layer (you will need to both “flip” and “mirror” or you won’t get the right effect). Either process should give you the same result:

Step Five: Time to make some magic! Play with your blend modes. Here’s what happened when I set the top layer to “multiply”:
Hmmm… Not sure I like that. It looks a little too muddy. Maybe if I try “screen” mode instead?
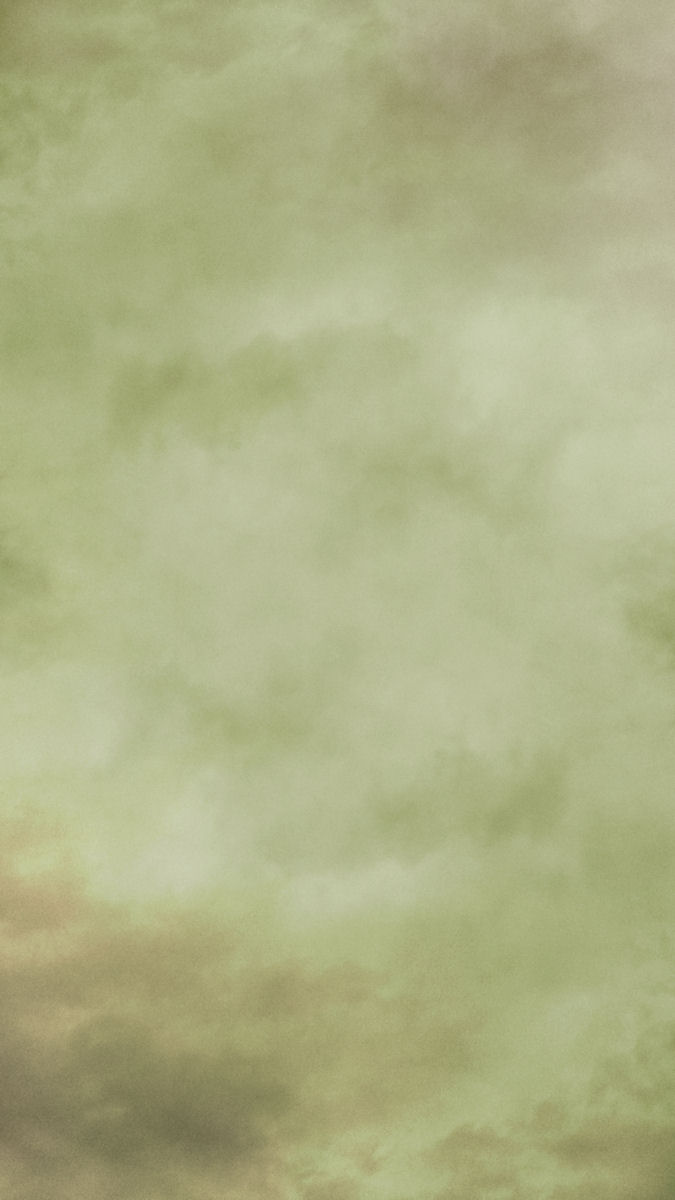
Well, that’s actually pretty nice! That would work well as a background for lots of purposes, especially posters or notecards with quotes.
Maybe I’ll try just one more setting. How about “burn”?

Wow! That’s pretty dramatic! I really like this one, but it might be a bit much for some purposes.
Now, if you really want to get fancy, try this: Set the top layer to “multiply”, then merge the two layers. Next, duplicate the merged layer and set the top layer to “overlay”. Here is my result:
Not as muddy as the “multiply” version, and not as bold as the “burn” version. Kind of a nice compromise.
So, that’s it. Pretty simple, 5-step tutorial for quick and easy digital backgrounds that you can use for lots of different purposes. And the best thing is that you can go right outside your own home and shoot photos of clouds right where you live (assuming you live somewhere that gets clouds on a regular basis) and make unique backgrounds that only you have.
Oh, and here are some cloud images you can use, in case it’s not cloudy out today where you live. I took these with my cell phone, so they are a bit grainy at large sizes, but another trick you can use is a little bit of blur to smooth out the grain. Anyway, they are free for you to use however you’d like. Just please don’t claim them as yours. 🙂


I hope you have enjoyed this tutorial. This will be the last one for my Project. Mainly because it’s New Year’s Eve, and the Project ends at midnight. Happy New Year!!