So, I just found out yesterday (or was it the day before) that one of our dearest friends has a new granddaughter. What better way to celebrate than by stitching up a new baby quilt, right? Riiiiiiight…
The weather today didn’t lend itself to driving 30 miles in traffic to work, what with freezing rain and icy roads and all that, so I decided to try to get as much done as I could on a quilt as possible, with the hope that it will be finished before Spousal Unit and ManChild drive down to spend the weekend with said friend.
I have a pretty large stash of fabric and thread, so I knew I could find something to use for this quilt. I wanted to make a pretty quick project, so I first looked at my precuts. Behold! I found a lovely jelly roll with bright batiks just waiting to be made up into this little girl’s quilt. As I laid out the strips, I decided that a rainbow quilt would be pretty. I thought about laying out the strips in rainbow color order, then changed my mind, and decided to do a mirrored rainbow strip quilt.
Then I changed my mind again, and decided to do an über-strip quilt, where I would stitch the matching strips (there were 2 strips of each color/pattern in the pack) end-to-end to make long strips, then strip-piece the long strips together along the long edges and go from there.
I was just about done stitching the fourth strip to the previously stitched set of 3, when I realized that what I had planned was not going to work the way I wanted. So, after finishing the 4-strip set (purple, indigo, teal and green), I started a new set (purple, pink, orange and golden yellow).
Once I had the two contrasting strip sets completed, I dug out my rulers, rotary cutter and cutting mat, then cut the strip sets into 90 º triangles, alternating directions to get the most out of the strip sets. Now, remember: I had previously sewn the matching strip sets end-to-end, so my strip sets were now about 80 inches long. I managed to get 16 triangles total, enough to make 4 large square blocks, but with different color progressions from base to point.
OK, so I now have these 16 triangles, and I’m trying to figure out how to arrange them so the finished top looks best. I mean, there are so many combinations with the 4 different progressions/color sets. So I laid out a few sample blocks and took pictures, then went through the photos to see if I got all the possibilities. At which point, I saw what I had been missing:
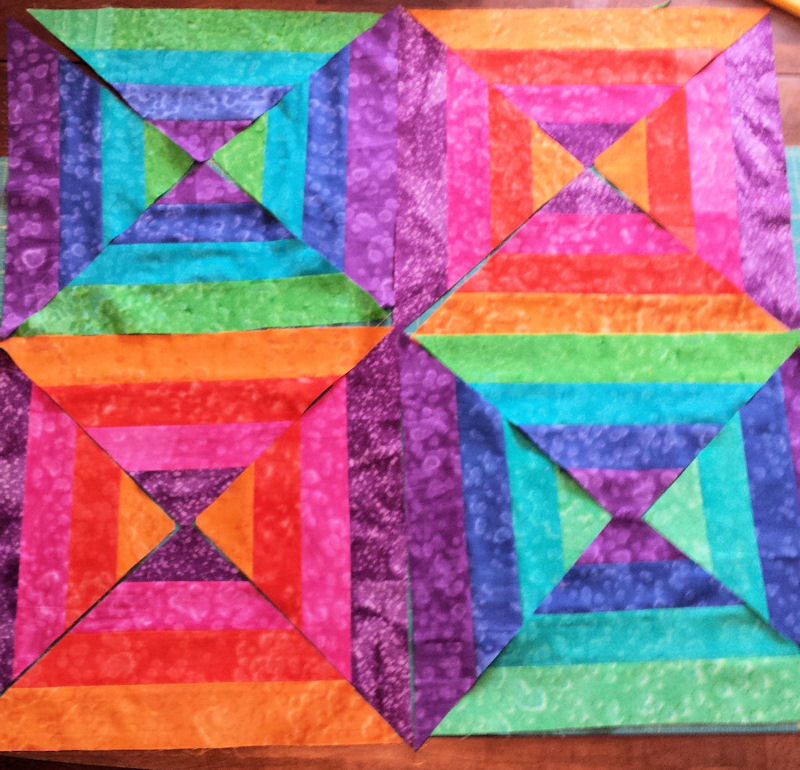
I just love the way the rainbow progressions appeared in this layout! To be honest, I’ve probably seen something similar elsewhere, but this is not how I envisioned the pattern when I started it. And you wondered why I chose the name Serendipity Muse for my blog… 🙂
These blocks went together very quickly. In fact, it took me longer to pin the seams to try to match up the corners than it did to actually sew them together. And since there are only 4 blocks, this was really quick to make. Once I figured out where it was going, that is.
OK, enough stalling I suppose. Here is the finished top, with borders added:
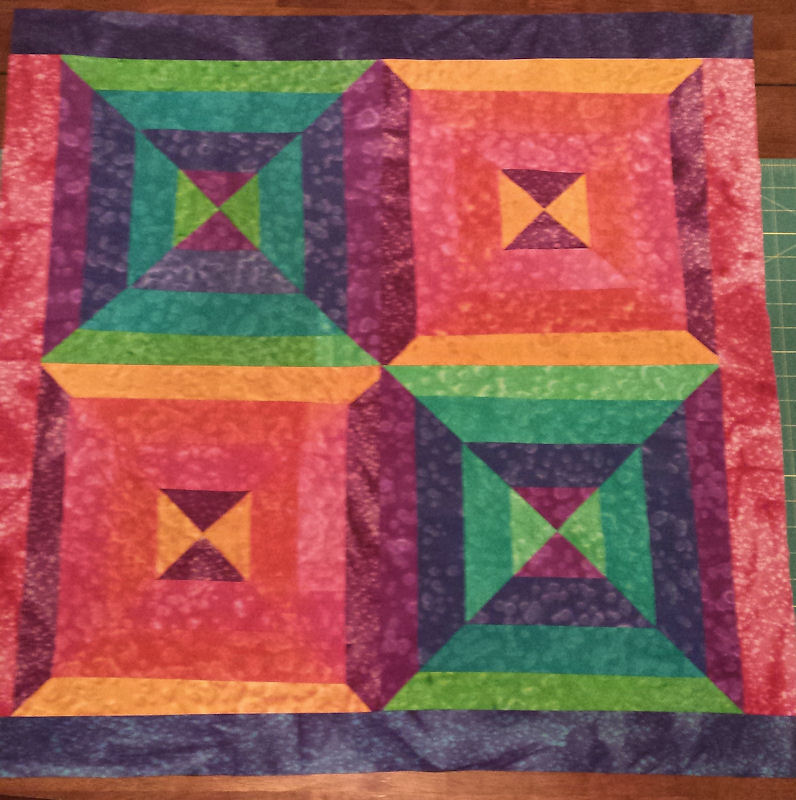
I apologize for the poor quality of the picture. I really need brighter light in my dining room.
Here you can see the blocks completed and assembled, with the added pink and blue borders, just waiting for a back and batting. Yes, I know that the diagonals don’t all match in the middle. What can I say? I’m much better at designing them than making them. Just hope I don’t ruin it when I get to the actual quilting part.
I’ve called my pattern “Criss-Cross Rainbow Sauce” (kind of a play on the words they use to describe sitting cross-legged to little kids, “Criss-Cross Apple Sauce”, and since this is for a baby, I thought it fit), and if anyone wants a full pattern for it, you can email me at Contact (at) SerendipityMuse (DOT) COM. I’ll hook you up.